


Fans
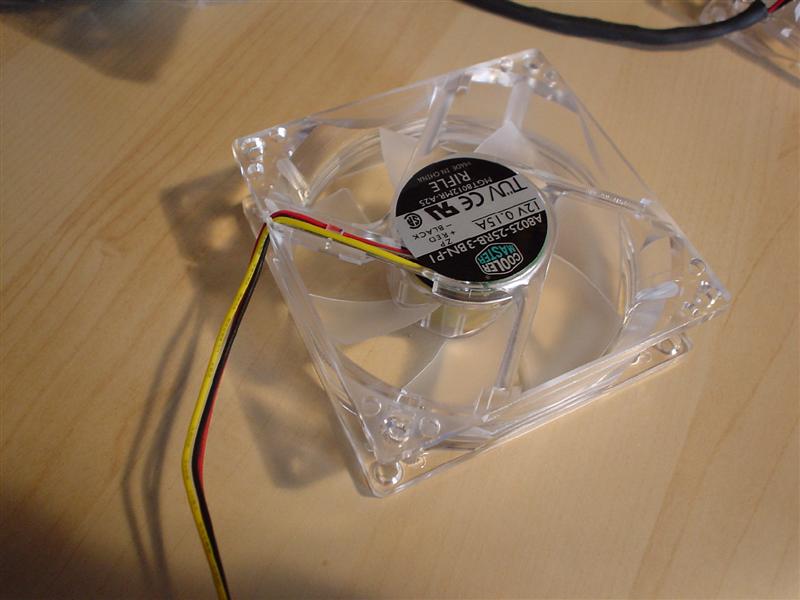
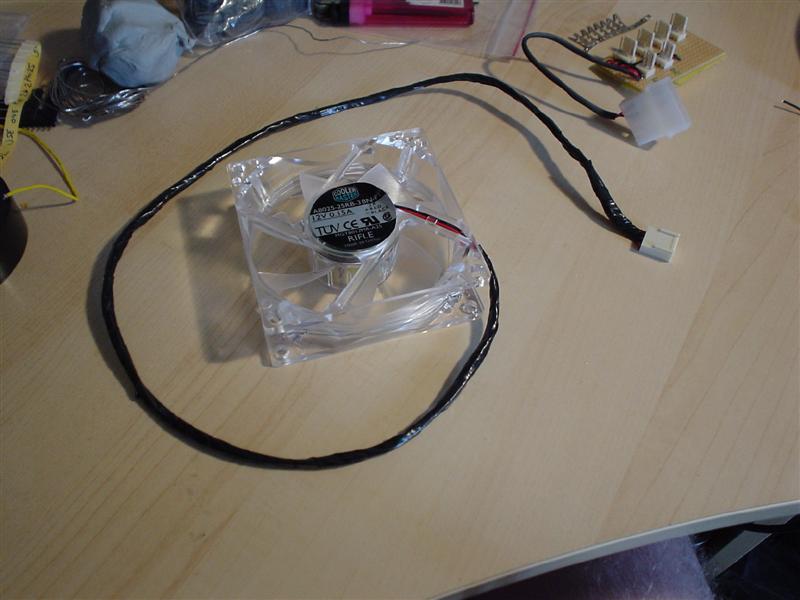
I am a real difficult person when it comes to fan choice, I want really quiet fans that look nice and can be controlled easily. I've not yet found my ideal fan but the best comprimise solution I've come across is the Coolermaster LED fans, they are clear fans with 4 LED's for lighting (RED. BLUE , GREEN , WHITE or PURPLE in colour). The fan is quite quiet at stock speeds and can be modified to make them quieter. They are more importantly very cheap in comparison to the normal quiet fan options. I sourced four 80mm white versions for this project. One for the CPU Fan, one for the PSU, and two for the case cooling. (There are only three in the pictures unfortunatly but you get the idea)
 |
 |
 |
In order to control the fans noise levels I wanted to be able to control the speed of the fans. This means adjusting the voltage supplied to the fans.
Now in a normal fan this is easy, in LED fans things get slightly more complex. The LED's in these fans are fed by the same power as the fan themselves, this means that when you lower the voltage supplied the LED's get dimmer.
Clearly this wouldn't do, so I set about modifying the fan so that this wouldn't happen.
The parts/tools I needed for this were:
- Soldering Iron/Solder
- Heatshrink
- 1 x Resitor per fan (120Ohm)
- Some wire
- Wire Cutters
- A lighter
 |
 |
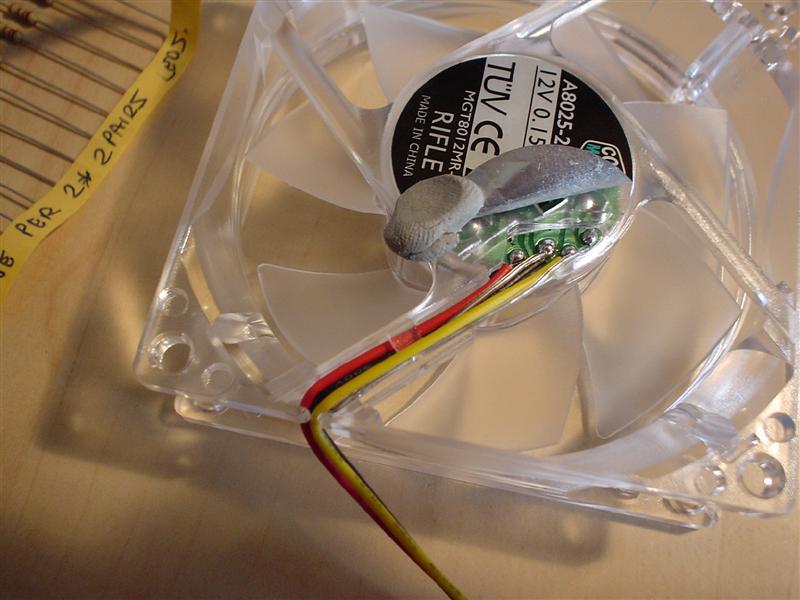 |
The first step I took was to peel back the sticker that hides the wires in the center of the back of the fan. I held it back with a small section of bluetac.
 |
 |
 |
The LED circuit is powered via three clear wires, so I unsoldered them from the fan keeping the two that were soldered on the same connection together (Positive wires). While I was at it I unsoldered the yellow wire as this won't be used in the connector I am using.
 |
 |
 |
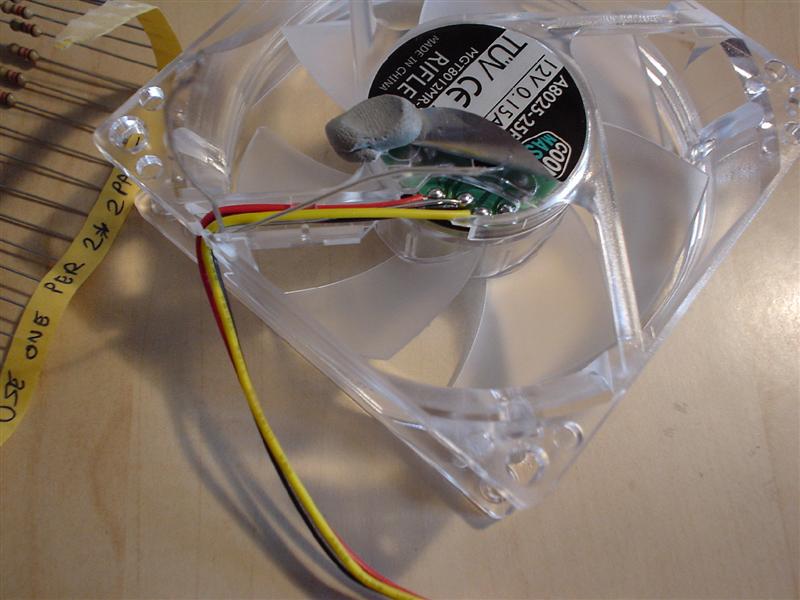
Now I soldered the Resistor to the two power wires I had unsoldered before. After which I added a length of wire after the resistor and solder it into place. When I'd done this add some heatshrink over the bare wires and used the lighter to shrink it into place.
 |
 |
 |
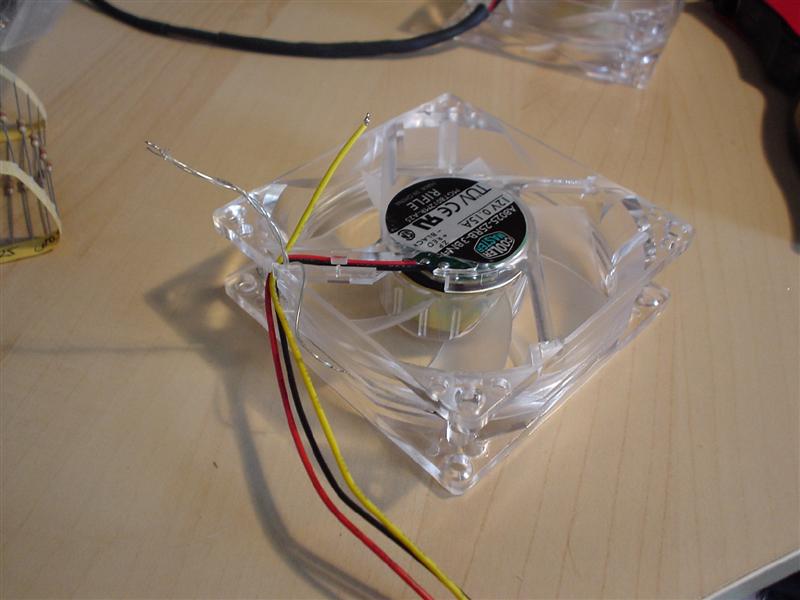
Now solder a length of wire onto the negative LED wire and heatshrink the bare cable. Once this is done you are free to use the connector of your choice. I've used a four pin connector similiar to the standard three pin one. With the 2 fan leads and 2 LED leads connected.


