


Opened Up
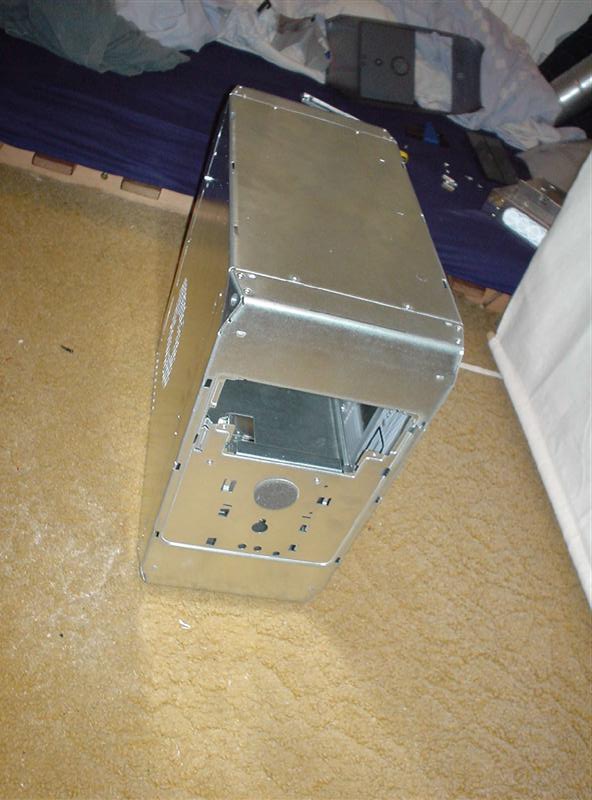
Next I opened up the case and look at what I was going to be modding. I then removed all the plastic parts from the case to get it down to its bare shell.
 |
 |
 |
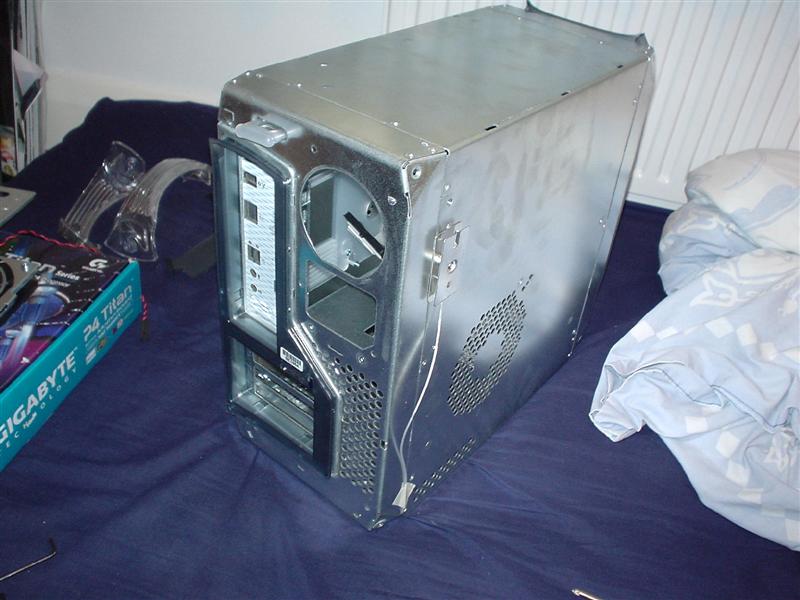
The bare shell from the front and two parts that need to be removed. The first is the wireless network aerial, and the second is the support for extra long pci cards and the slot for the wireless network card. Also on this is a small magnet which prevents someone opening the case while its powered on. I will take these off later.
Power Supply
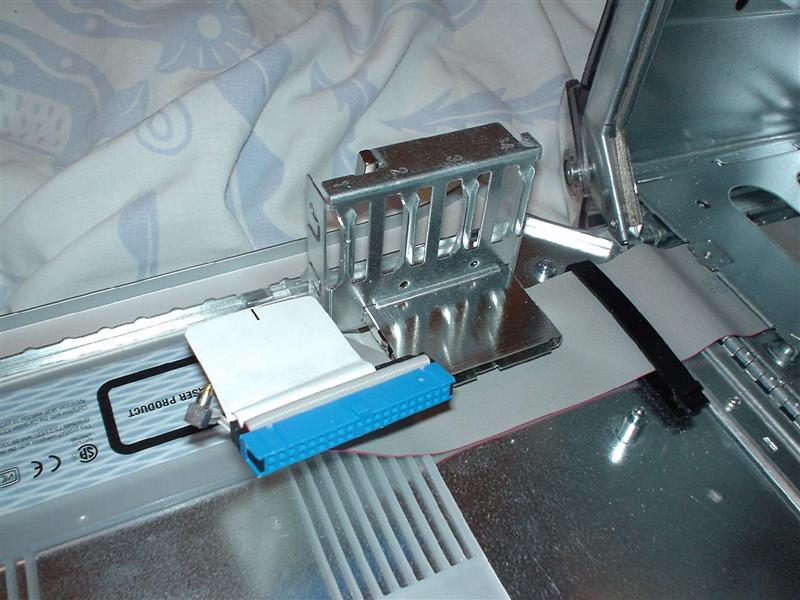
The first part I wanted to fit was the Power Supply(PSU). In the stock Apple setup the PSU is similiar to a ATX sized one from a normal PC case.
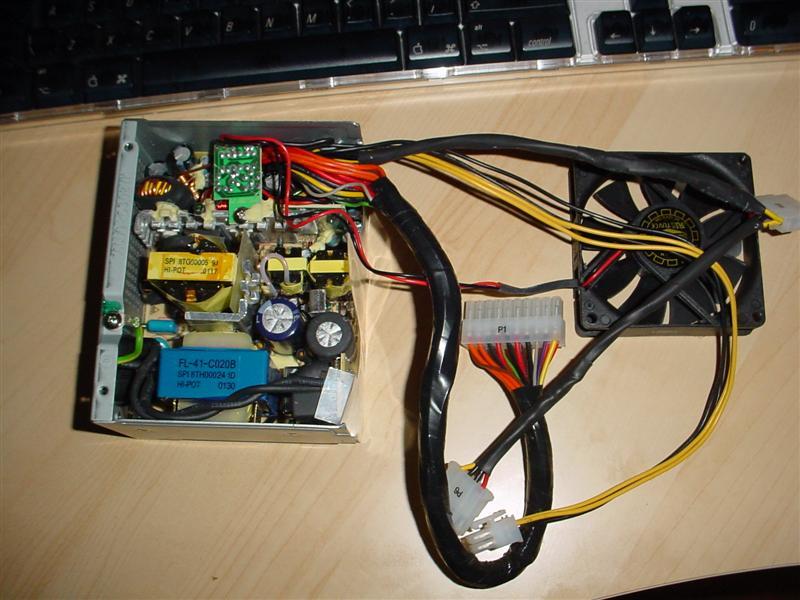
I didn't need or want a PSU this large so I choose a smaller MATX sized one I had lying around from an earlier project.
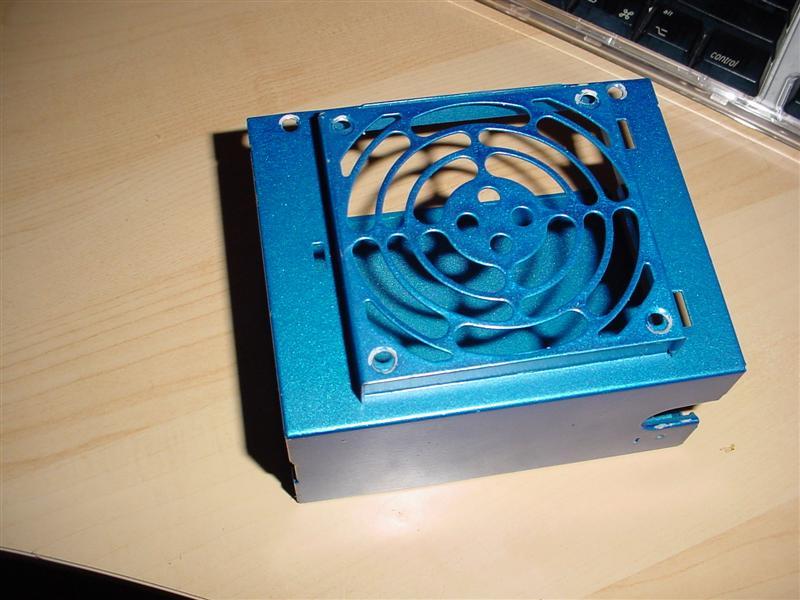
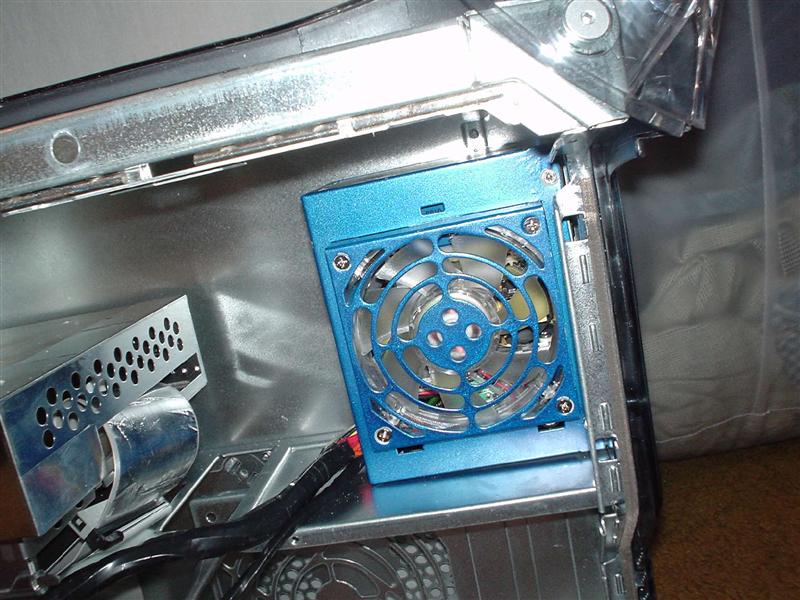
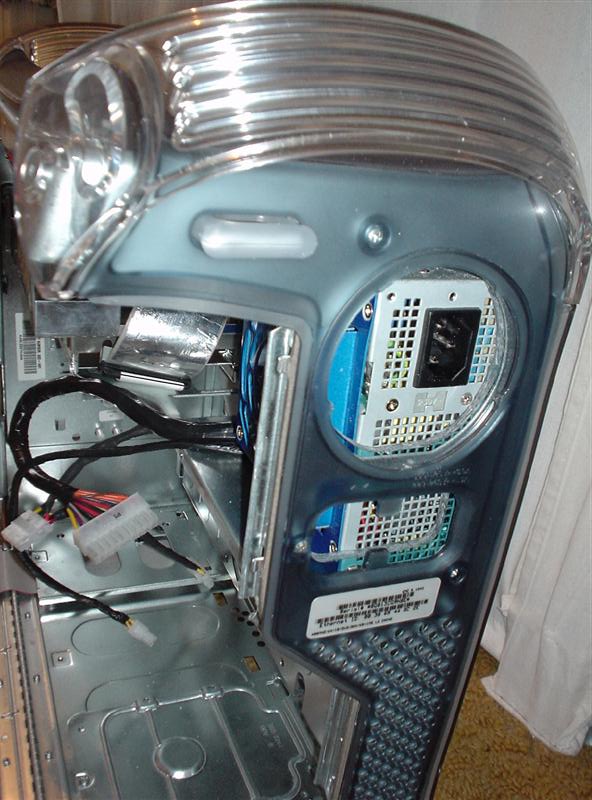
I decided to spray paint it a nice shade of metallic blue. I used normal car paint with a layer of primer then the colour coat and finally a clear coat to give a nice shine.
The PSU fan is a 80mm sized fan but its thinner than a normal 80mm fan. Luckily the fans I choose (Coolermaster LED fan) fitted. The fan was modified as described later in this guide in the fans section.
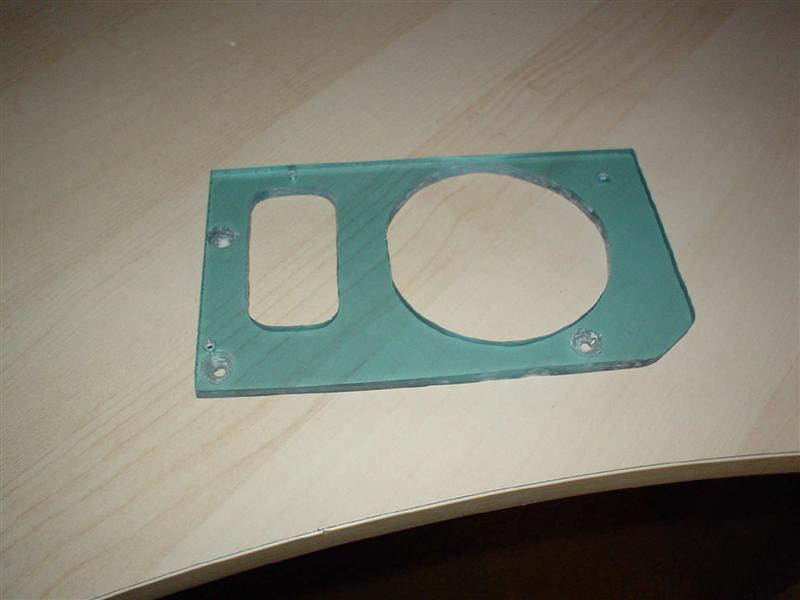
In order to attach the PSU to the case I need some kind of adapter, I had some spare perspex lying about and got out my Dremel and cut out a peice that would fit perfectly.
The holes were then measured and drilled out so that it could be attached with normal pc type screws.
 |
 |
 |
 |
 |
 |


