


Closer Inspection
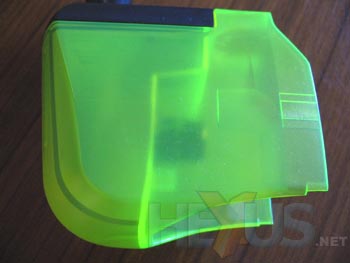
Focusing on some of the individual parts that make up the pump kit, I shall start with the reservoir. Asetek kindly sent me two reservoirs, one in a very striking bright 'ow, my eyes' yellow.
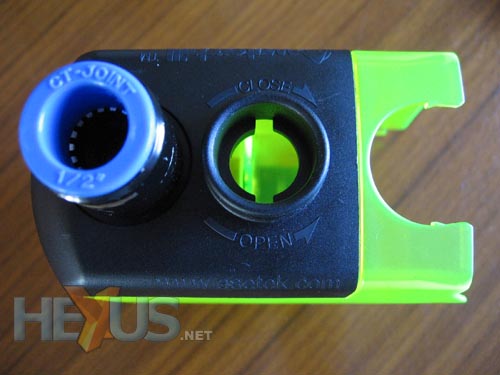
The capacity of the reservoir is very limited, but as we'll see shortly, the design means that it doesn't matter. Here the cap for the fill port has been removed. The cap is very secure, making it difficult to remove by hand. Perhaps a better grip on the cap would make it easier to work with. This is but a minor issue; you won't be filling the reservoir very often, unless something is very wrong with your cooling loop. Also we have the 1/2" push-fit inlet, 1/2" being the piping's outer diameter here, rather than the inner diameter you'll find used on some components, particularly those that use barbed fittings rather than push fittings.
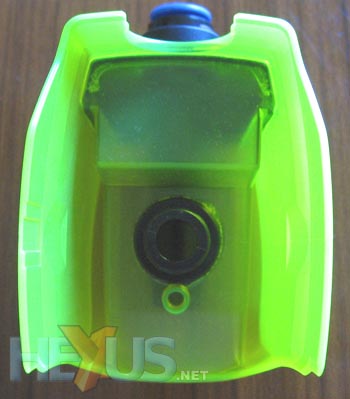
Much of the reservoir's casing is there to surround the pump, rather than store water. In the above image you can see the fitting that inserts (tightly) into the inlet of the pump, and below it a place for you to fit an LED to illuminate the reservoir - a nice touch.
You can see the internal partition that creates the seal for the reservoir, the left part being where the water is stored. Totting up the dimensions I'd estimate a capacity of about 100ml. The inlet extends to nearly the bottom of the reservoir, ensuring that any water entering it won't make a splash, eliminating noise.
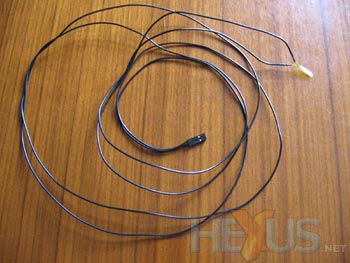
Two temperature probes can be connected to the controller of the pump (we start to see that this more than your average pump). The probes are flat types rather than beads, making it easy to fit them just about anywhere. Adhesive pads are included to help hold the probes in place. The leads for the probes are over 100cm long, allowing for easy reach and routing. The only problem with the probes is that they aren't braided or twisted. I'd recommend twisting the cables together neatly before installing them.

The base is about as exciting as you can expect. It's easy to fit, easy to remove and that's about it.
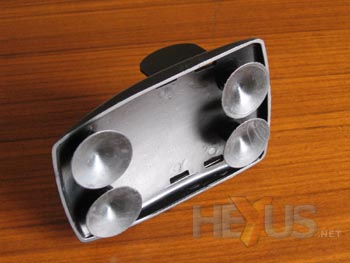
On the bottom of the base you can attach four rubber sucker pads to secure the pump in situ and reduce vibration.


