


Living with the LanBoy Air
Stripping down the LanBoy Air, we get a look at the guts of the enclosure - a simple, albeit sturdy, steel frame.
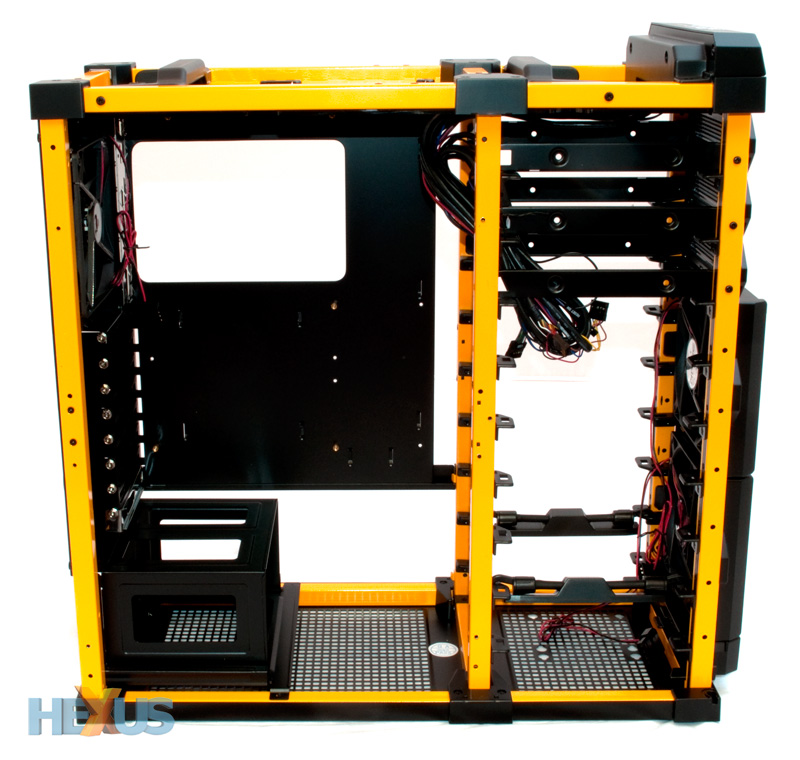
With the chassis opened up, there's ample room to work with, but Antec does its best to complicate the build process. The motherboard tray is removable - which is usually a good sign - but in this case the tray can only be removed by detaching the chassis' back panel. Said panel is attached using standard screws (not thumbscrews) so you always feel the need to have a screwdriver at hand.
Likewise, the 5.25in, 3.5in and 2.5in bays all make use of differing screws, as do the PSU mount and eight PCI expansion slots. Internally there's not a thumbscrew in sight, and with rival enclosures employing numerous tool-free mechanisms to ease installation, building into Antec's LanBoy Air feels like hard work.
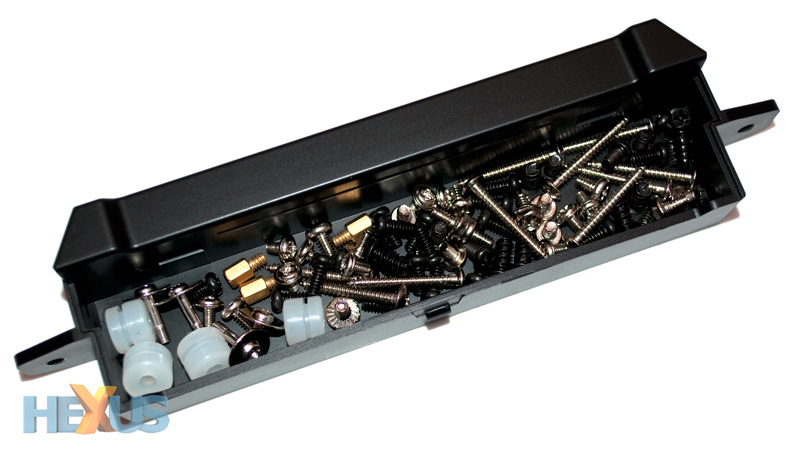
You know you're up against it when a chassis incorporates its own little tool box, and that's exactly what the LanBoy Air does. Beneath the two front-mounted fans, a small tray is provided to store the enclosure's dizzying array of screws. We lost count of how many of these we fastened and unfastened during the build process, but we can tell you there are over 100 screws provided.
Should you be the type of builder who genuinely enjoys putting things together in piece-by-piece stages, you might warm to the LanBoy Air's numerous parts and configuration options. We did to a certain extent, but we soon became exasperated by the chassis' various quirks.
When trying to install a DVD writer in the top-most 5.25in bay, we found that the cables running from the front I/O panel prevented us from pushing the drive far back enough to sit flush with the chassis. We, instead, opted to mount our DVD writer sideward, only to realise that access to the drive can then only be gained by undoing a thumbscrew on the mesh side panel. A single thumbscrew isn't hard work, but getting to your optical drives should surely be easier.
The rubber AirMounts for 3.5in hard disks are equally fiddly. Though they might help dampen drive noise, each feels flimsy and has enough give to let the drives swing and hit the chassis' front fans when carrying it around. The front-mounted USB 3.0 port has a pre-routed cable that's too short to reach the ports on the rear of our ASUS motherboard, and each of the chassis' five fans uses a four-pin Molex connector, so you can't easily hook them up to headers on your mainboard. Independently, they're minor oversights, but collectively, they combine to frustrate and perplex the user.
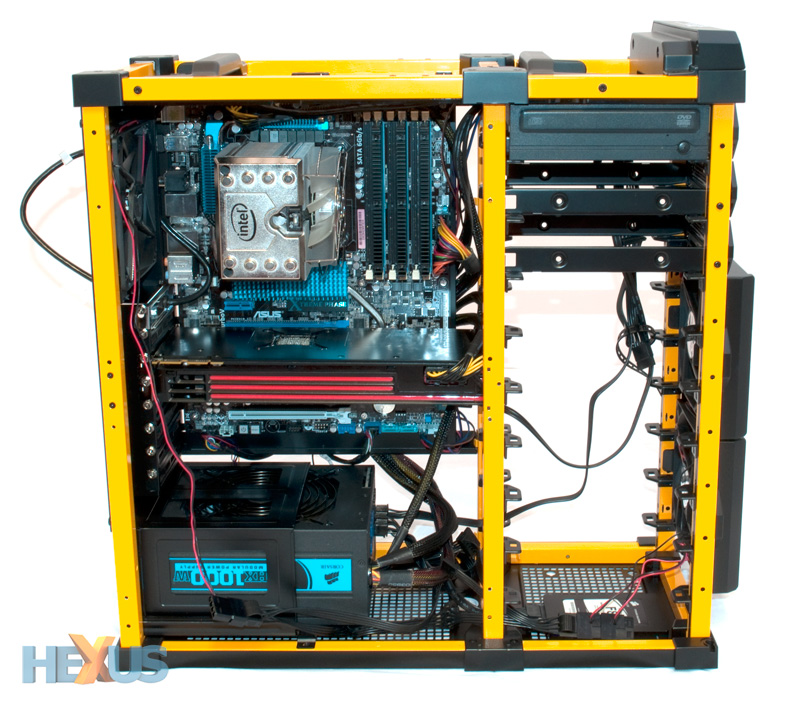
Building into the LanBoy Air is surprisingly challenging, but once you're in, there's sufficient room to work with. Cable routing could be better (there's no provision for returning cables over the top of the motherboard tray), but with such an open frame there's usually a route for each cable to take.
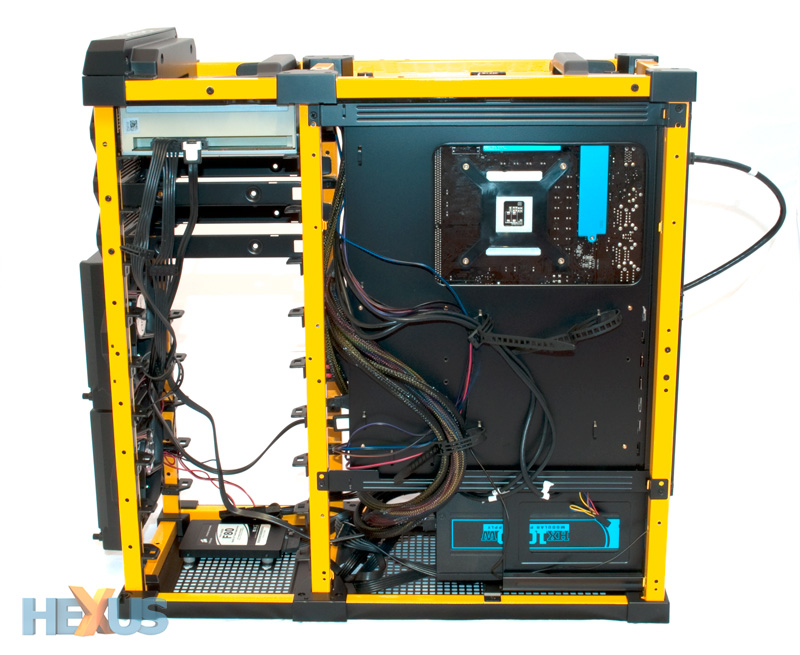
There's a decent amount of room behind the motherboard tray for storing cables partly out of sight (the back panel is see-through, remember), and the sizeable cutout in the motherboard tray makes it easy to install CPU coolers. Worth noting, also, that Antec recommends mounting the PSU with its fan facing upward into the chassis, to help maintain the positive air pressure.
With our patience tested, our Intel Core i7 (X58) build was complete in just over an hour. Now let's see how the open-air design affects the LanBoy Air's cooling credentials.


