


Hard-drive ugrade in five minutes
Our previous guide detailed just how easy it was to upgrade the system RAM in your shiny, new Apple Mac Pro, and how you could save a bundle by doing so.The vagaries of Apple's purchase-time pricing are such that, again, upgrading to larger hard drives is needlessly expensive - why not do it yourself by following our how-to-guide.
For example, simply adding a 750GiB drive to the second bay will add a not-so-cool £250 to the Apple price-tag. Choosing a 1TB drive for additional storage will extract a monumental £350 from your credit card.
Now compare that with an average e-tail price of £99 for the same 750GiB SATA drive and £135 for a 1TiB model. You'd be remiss not to go down the install-it-yourself route, really.

Once the chassis is opened up - which, remember, is as simple as pulling the lever on the back, as shown in our previous guide - we gained immediate access to the four hard-drive cages located at the very top, just above the Radeon HD 2600 XT 256MiB graphics card.
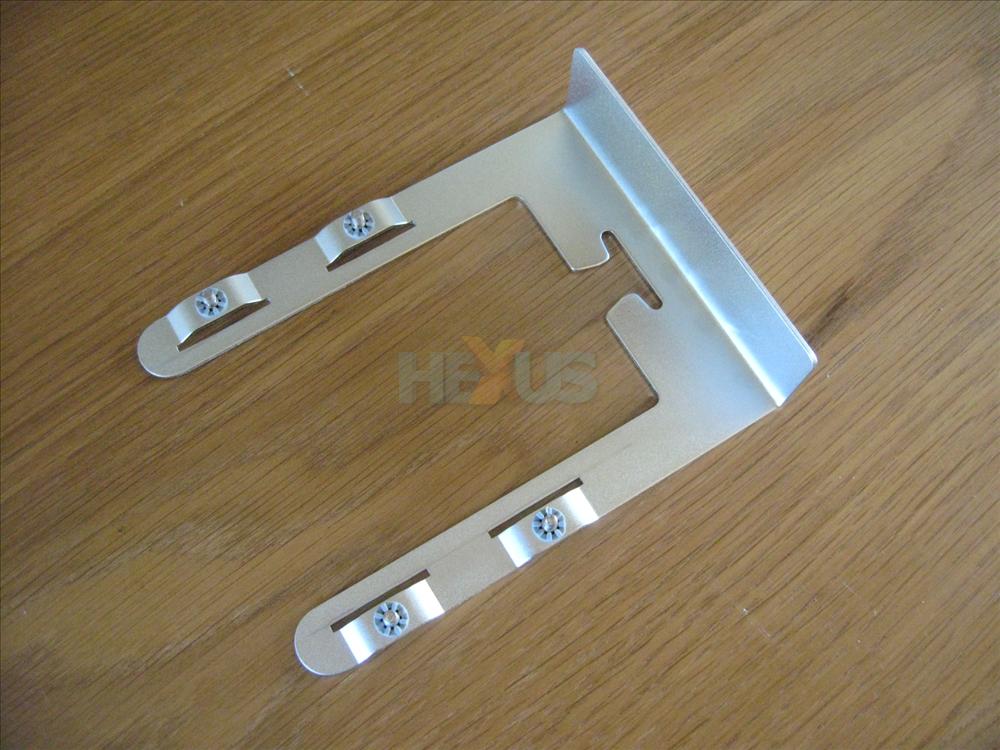
The caddies simply pull out and are cable-free. It takes just a minute to install a new 3.5in drive - you literally unscrew, place, and put the caddy back in the system.
Thoughtfully, Apple also includes rubber grommets to dampen the vibration and associated noise produced by drives in full-seek mode.
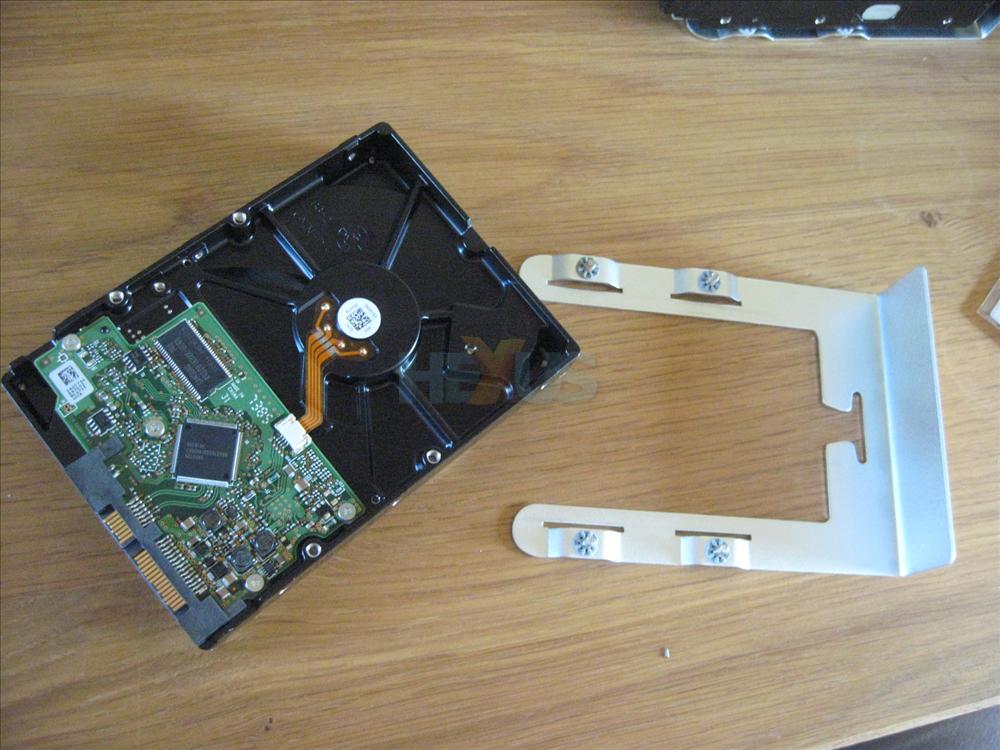

Here we have a Western Digital 320GiB drive fitted to the caddy. The drive's connectors latch directly on to the motherboard, which provide power and routing without needing additional wires.
Easy as pie, and this five-minute exercise saved us over £200 when compared to an Apple-specified 1TiB, if bought at the time of purchase.
If doing it yourself, simply repeat the drive-on-caddy process for additional drives in the system.
WiFi card installation
Gaining WiFi connectivity, should you so desire, is as simple as attaching a USB dongle to one of the five ports and then linking up with your home or office network. Doing so, though, takes away the sleek aesthetic and risks disconnection if the dongle is pulled out inadvertently.The Apple Mac Pro ships with a standard mini-PCIe slot and Apple will charge you £30 to have an 802.11n AirPort Extreme pre-fitted into the chassis. Should you want to include one after purchase, take the machine down to any Apple store and technicians will fit it for a £45 fee, on top of the £30 card charge.
Doing it yourself is a cinch and will save you money, too. This step-by-step guide will also be useful if the AirPort Extreme card was not specified at the time of purchase, naturally.

The mini-PCIe is hidden behind hard-drive caddy no. 1 - the one of the left-hand side - and all four should be removed to gain easy access.
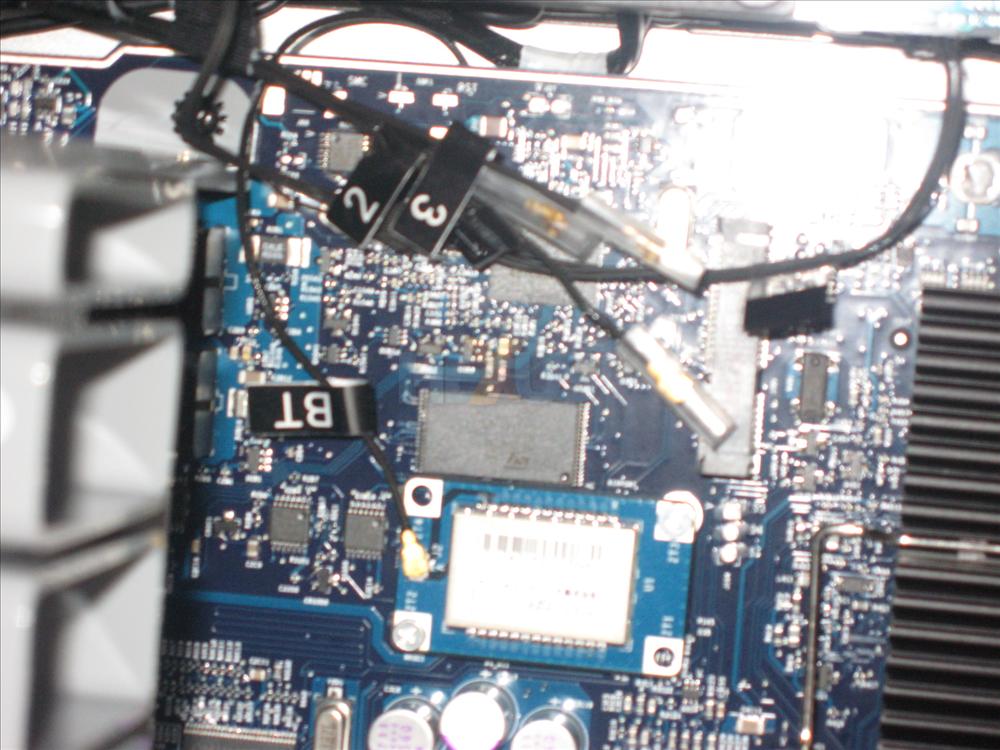
Apple groups the necessary cables for card operation. We needed to untangle these separately and connect them to the card, to provide antenna support.


