


SB75G2 Internals
Most Shuttle XPCs can rival any full-size board's feature set. Let's see how it's done.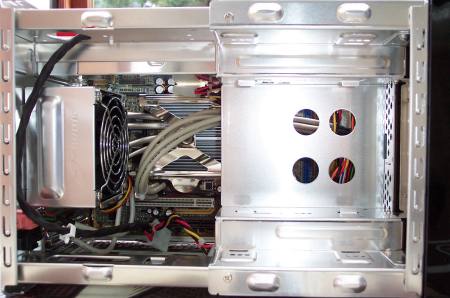
Popping off the aluminium cover is as easy as removing three holding thumbscrews. A large drive tray obscures the feature-filled FB75 motherboard.

Notice how the cooler and tray take up most of the internal space. It's an exercise in cramming the constituent parts of a normal PC into something that's roughly the same size as a toaster. Installation is only trickier if undertaken in the wrong order. The manual clearly spells out the correct method. 3 regular molex connectors, a single SATA and a lone floppy drive plug provide enough power connectivity.
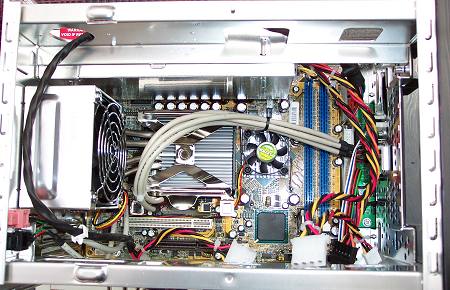
Once the tray is removed, it becomes easier to see how Shuttle have engineered Canterwood power into a SFF system. Cooling takes up most of the left-hand side, the respective chipset bridges are centrally located, and DIMM slots occupy the right-hand portion. There's all the all-important AGP port and a single 32-bit 33MHz PCI slot, which should be enough if one considers the feature integration present here.
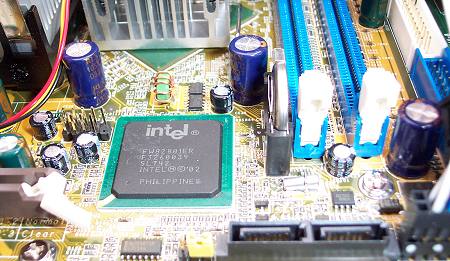
The small internal dimensions and lack of cooling opportunity makes any Shuttle XPC a prime candidate for heat-induced failure. Perhaps that's why Shuttle sensibly adds a small fan on the i875 Northbridge. Lack of space also manifests itself with just two DIMM slots, which offer up dual-channel support. The ICH5R Southbridge services 2 PATA ports (on the very right) and 2 RAIDable SATA ports at the front of the above picture. The SB75G2's real-world storage ability will be limited not by the chipset but by the lack of internal space. Still, it's nice to have the options. The vertically-mounted battery is a neat idea.


