


Internal Appearance

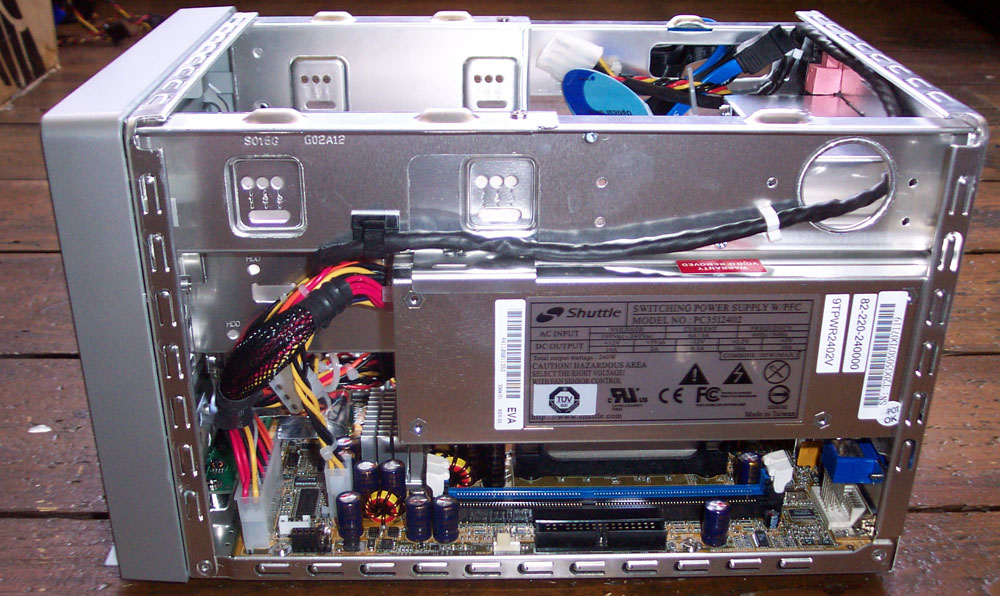
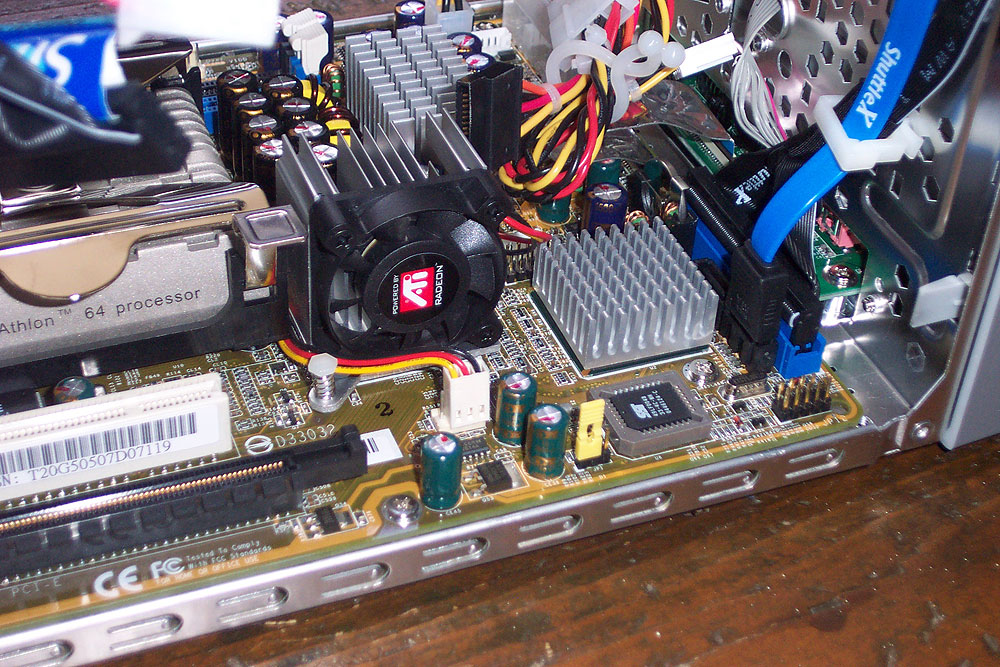
A look inside of a freshly naked ST20G5, round the left side, shows you what you see above. There's a fair bit to take in, so open the bigger picture, or this one, in a new browser window/tab and read this while glancing back and forth. On the left you can see the PCI Express slot for graphics, sat foreground to a PCI Conventional slot background. Further back from that, you can see the I.C.E. cooler.
I'm a huge fan of the cooler's retention clamp, and it's a shame that it can't be adapted to take a conventional, sat-on-top fan, somehow. If it could, you could use the cooler's block, the retention clamp and a nice low-speed fan on a regular Socket 939 or Socket 754 system. In the XPC, the block, held down by the clamp, is connected to the exhaust fan by a set of heatpipes which move the heat away from the CPU, to be carried away by the rest of the cooler and the fan.
Right next to the socket area is the natty little heatsink and fan for the RS480 bridge. It's a noisy little bugger at full speed, but thankfully it's temperature controlled and under basic load conditions it's pretty inaudible. Oh for a decent SPL meter so I could attach numbers to the words, to further convince you. Past that there's the passively cooled ULi southbridge chip, that doesn't seem to chuff out any heat whatsoever. Touching the many-finned heatsink with a wary finger, I was met with nothing but stone-cold metal. The heatsink is attached properly, it just seems like, even under a heavy disk load, it's a very cool bit of silicon indeed.
A pair of SATA ports for hard disks sit infront of the lone PATA port, the cables for which (only one SATA port is supplied cabled up for you out of the box) are routed around the edge of the chassis's top spar and through a machined gap which leads into the main interior space. After populating the removable drive tray with drives, you slot it back in and cable everything up, before screwing everything into place with supplied Philips (size 2, I think) screws. You can just about see a power cable dangling down on the left, which has another Molex on the cable run, which lets you power things. SATA power is also available from the PSU, should any SATA drive you have come with only that connector for juice.
Flipping the weeny PC around to look in at the other side shows you the PSU - a 240W unit - with DIMM slots just underneath. There's not much space between the PSU hanging overhead and the slots underneath, with which to wedge memory modules into. So if you have something a bit portly such as Corsair's XMS Pro, you'll have to take the PSU out first, before you can fit them. I had a go with my own Pro sticks just to confirm. There's not much room, as you can see below.
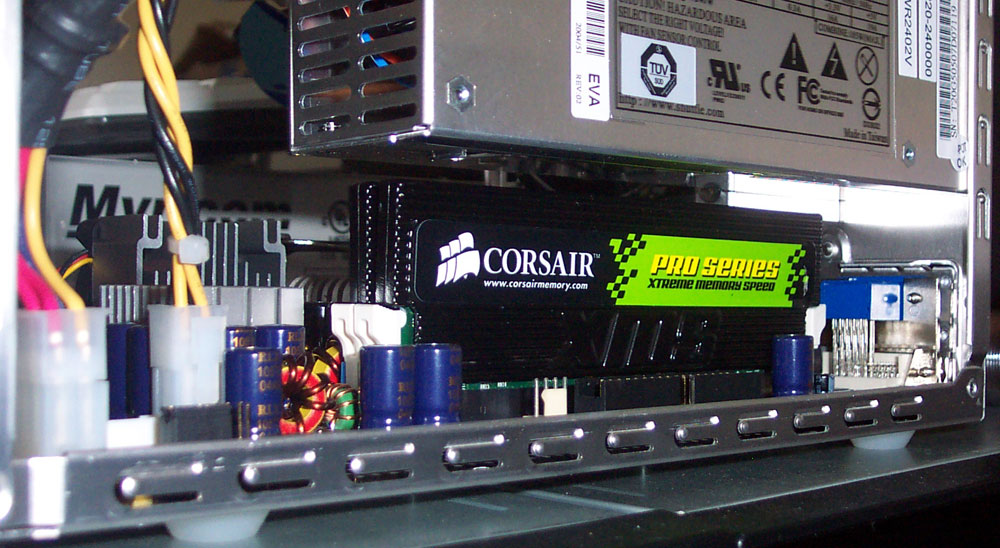
Removing the PSU to do so is very simple. Three Philips screws are all that hold the thing in place, so undo them and more open access to the slots is yours. You can't get XMS Xpert in there though. I tried. And nearly broke the displays on top. There's arguably even less room should you use the floppy port, too. Beware of memory sticks that could do with a diet, with the ST20G5.
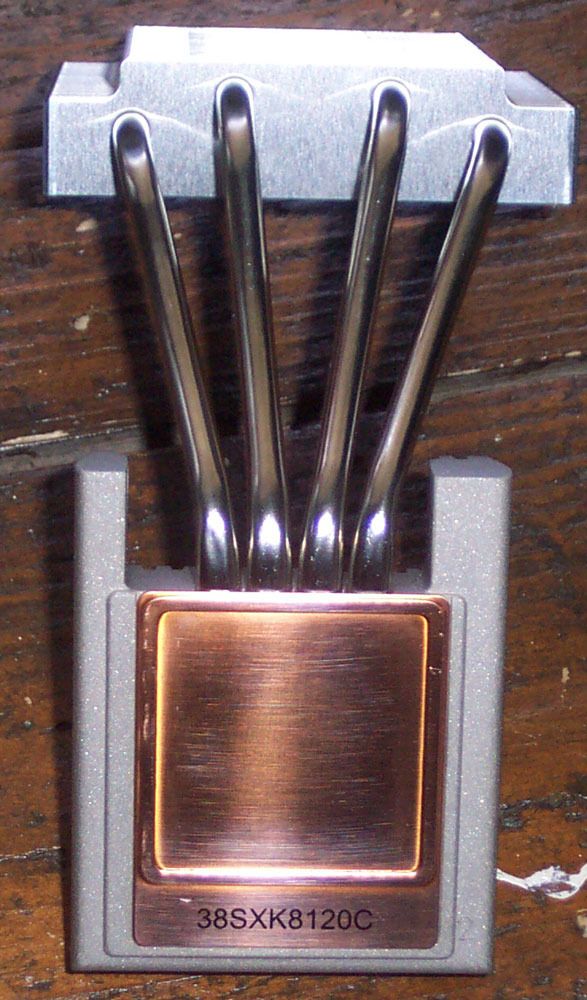
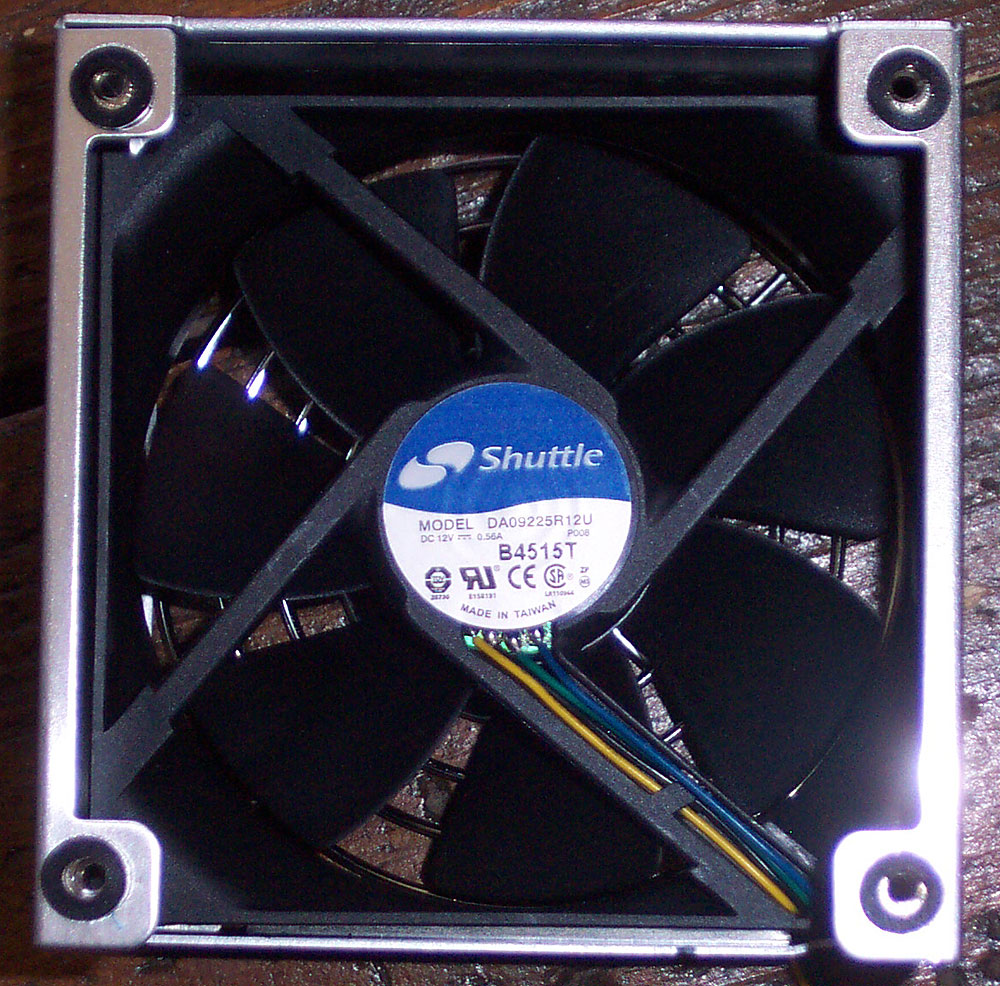
The I.C.E. cooler has a copper bottom and a touchy-feely aluminium top. A chromed-up foursome of heatpipes connect the base cooler to the many-finned mini radiator, through which the 92mm fan moves air, to cool the processor. Thermostatically controlled, with some additional BIOS help, the fan blows a hooly in the beginning during POST, before settling down to a scarce breeze, wafting away until things get toasty, at which point it speeds up in steps for long enough to get the temperature back down to manageable levels, before going quiet again. Temperature controlled fans are gooooooooood.
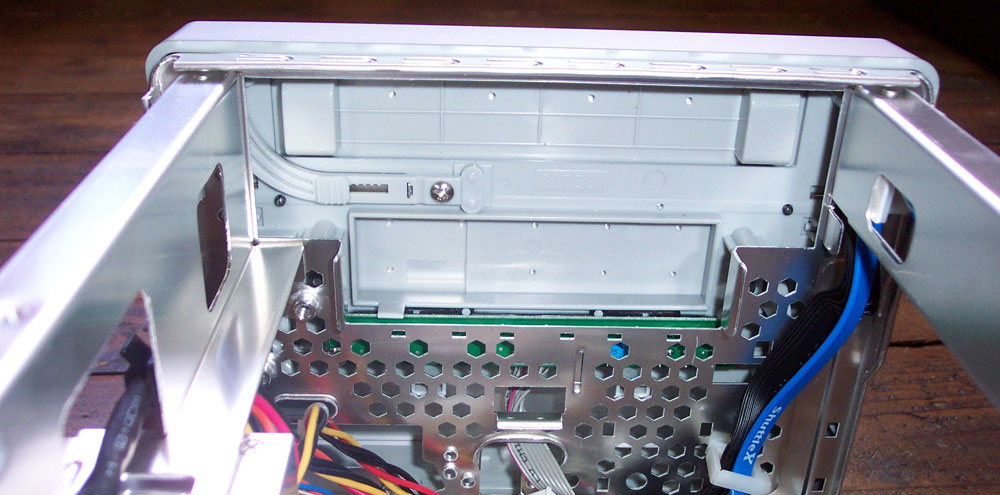
The last thing worth a squint at, and the only thing internally that pisses me off, is the mechanism that a G-series XPC uses to operate the button on your optical drive. There needs to be something more precise that's responsible for doing so. It's been a bugbear of mine for a while now, with the G-series, but I've bitten my lip, putting the inability to really get it working well down to my own spasmoidal flailing when handling PC hardware. When building the ST20G5 up for this article, it took me no small amount of double-jointed finger movement and screwdriver operation to get the triple-header of disk cage placement, optical drive placement within that cage, and finally it all screwed in without moving the drive back or forward the millimetre that'd spoil the whole thing, right. Utterly frustrating.
Yeah, you can move the grooved bit of plastic that actually hits the button side-to-side a bit, but depending on the drive you use - in my case, a basic Pioneer DVD-106 - you'll be effing and blinding at the thing until you get it just so. That the button can get stuck in the in position when you press it, causing the drive tray to shoot in and out repeatedly, just like the fecking thing is sticking its tongue out at you for being such a plank while putting it together, is the icing on the cake.
Breathe in and count to ten with me, it'll be O.K. With blood pressure back to normal, let's have a peek at the presentation, bundle and manuals.


