


Interior
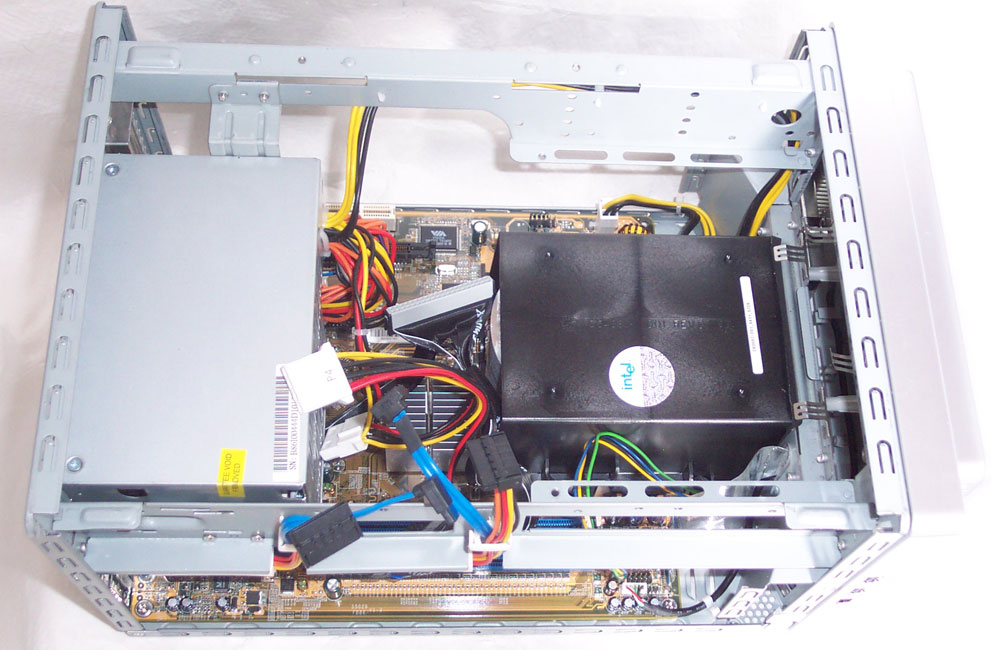
Popping the lid off gives the SB86i's layout game away. The first thing you'll see if you purchase your own SB86i, after getting the three-sided lid off, which like all previous XPCs is retained by large thumbscrews, is the pair of drive cages.
Click for a larger version
Shuttle cable the SB86i up with a SATA data and power pair to each drive cage. They're held in place with a simple thumbscrew and are a piece of cake to remove to fit a disk, and replace when you've done so. Made of steel, like the rest of the chassis, you get screws supplied to retain a disk drive to them.
You need to remove the drive cages to get access to the optical drive cage and then onwards to the BTX Thermal Module, to insert or replace a processor. Removing the optical drive cage is as simple as undoing a pair of small Philips screws before pulling it away and up. That gives you the following view.
Click for a larger version
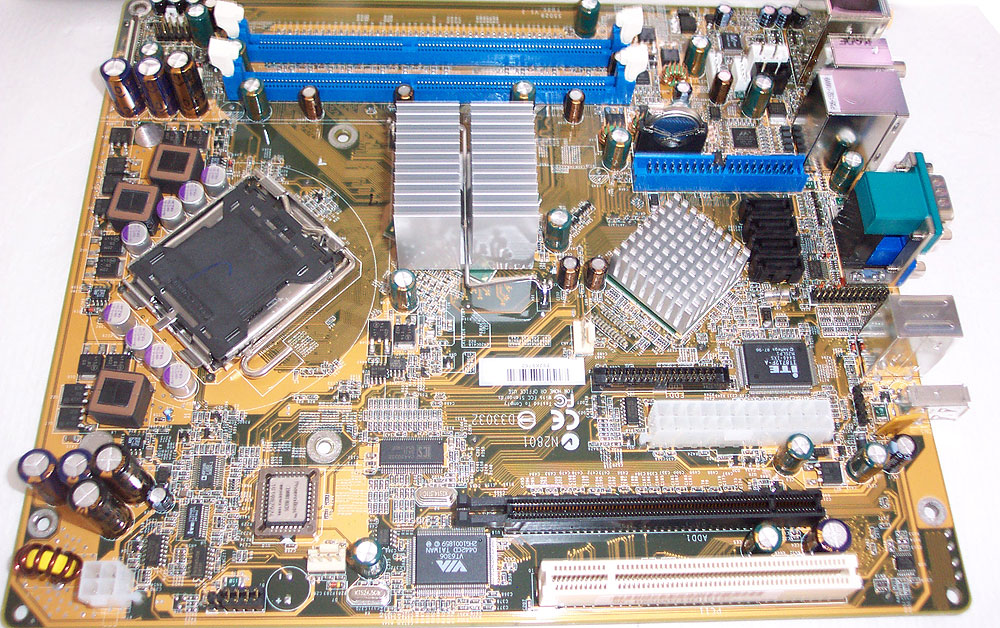
So from then on you have access to the Thermal Module, which is held to the chassis via a quartet of Philips screws which you definitely need a screwdriver to operate. Remember, with BTX the chassis retains the CPU cooling solution, not the mainboard. That allows Intel to make use of a 1.26 kilo cooler with most of their LGA775 processor range. Taking the mainboard out of the chassis completely lets you see how it conforms to the picoBTX spec.
Click for a larger version
Looking at the board, imagine three horizontal sections on the board as you look at it in the photograph, from top to bottom. The top one is the thermal area for the memory modules, the middle (larger) zone is for the CPU and core logic cooling zone with expansion cards lying in the bottom zone. That's the ethos of BTX, to simplify board layout, trace routing and optimise thermals. Just to prove the chassis is (mostly) compliant with BTX, I grabbed another picoBTX mainboard to see if it would fit.

Click for a larger version
While any picoBTX mainboard will indeed fit, due to the proprietary connectors Shuttle use for the i-Panel hardware and chassis on button, you won't be able to use any of the FireWire400, USB2.0 or audio ports on the chassis, at the very least. The power button's wiring can be adapted to fit the pin headers on a regular mainboard, but that's as far as you'll get. So a nice picoBTX chassis that you can only use properly with one vendor's mainboards. It might as well be shuttleBTX.

Click for a larger version
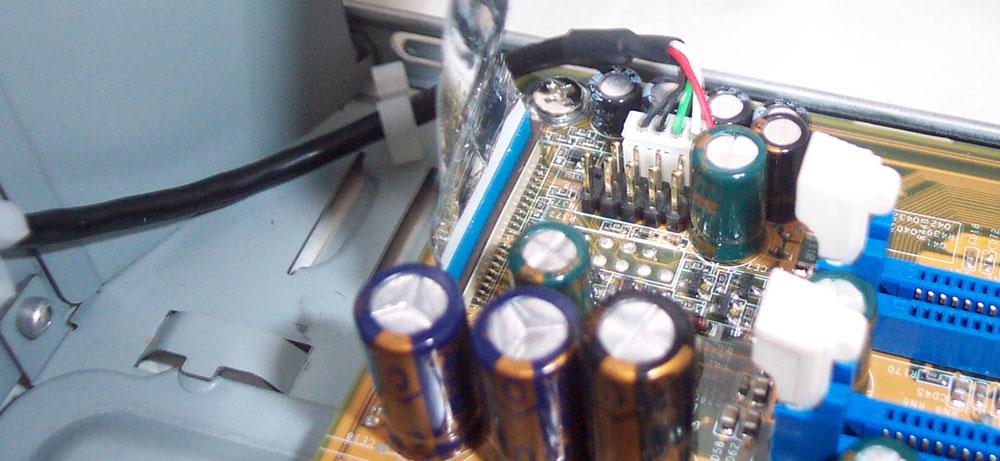
Looking round the left hand side of the XPC, with the lid removed, shows you the memory slots, to which you have adequate access. Notice the logical cable routing that you can somewhat see, with Shuttle making it as easy as possible to assemble an SB86i without the worry of tidying up a set of cable runs when you're finished.

Click for a larger version
That's more evident on the other side where you can see the expansion slots and the power cable runs to the mainboard. Notice that the PEG16X slot for graphics is behind the PCI Conventional slot. Placing them in that manner, where the Gigabyte board I showed you above swaps that round, means that the Shuttle can't accomodate a dual-slot PCI Express graphics card. Moving the slot to the outer edge of the board would have facilitated that, although given the power supply's ability, you'd maybe never choose to do so.
However, moving the slot to the outer edge of the board would also let the SB86i's i-Series chassis accomodate longer PCI Express graphics cards, like a 6800 GT, whereas in the configuration it has you can't use anything much bigger than a Radeon X8-series PCI Express board. Witness this basic X800 installed into the chassis.

Click for a larger version
A 6800 GT doesn't clear the optical drive cage, due to its larger heatsink, so while that X800 can push past the edge because there's no board components to foul on the cage, I couldn't successfully fit any of my single-slot 6800 GTs.
Summary
With it being a BTX system, it pulls air from the front of the chassis and exhausts it at the rear, via the heavily vented power supply. However, you'll have noticed that there's not much in the way of intake holes on the frontal section of the i-Series chassis. The fan on the thermal module has to pull in air from a small set of slotted holes on the underside of the i-Panel, and from similar holes on the sides of the i-Panel, where it juts out from the main chassis body. It's clearly not ideal, but it does work (mostly, as I'll explain later).Noise wise, on the default SmartFan setting, the unit remains mostly quiet, with a PCI Express graphics card that's actively cooled likely to make more noise. That is until the CPU gets loaded and the thermal control for the fan speeds it up to full and the volume of air being moved by the blades, through the stacked fins of the Thermal Module and out into the rest of the chassis makes it noisier than I'd care to stomach for anything longer than short periods.
The options in the SB86i's BIOS, apart from the default SmartFan setting, all set the fan to a fixed speed that doesn't vary with temperature. With a 3.6GHz Pentium 4 560 under the hood, you need full-speed every now and again, to adequately deal with the heat. A no-win situation, unless you have no problems with noisy systems.
There are upsides to the SB86i however, from a functional point of view. It is incredibly easy to work with and while not completely tool free, it doesn't put up a fiddly fight like you'll experience with other small form factor systems. The size of the chassis sees to that, giving you ample room, at the expense of a whole chunk of extra weight and size, versus smaller XPCs like the P and G-series models.
I'm just less than impressed with the noise, especially when cooling something from the upper eschelons of the P4 range. While it'll happily handle something like a 2.8GHz Celeron with nary a peep, don't be too tempted to feed it something like a 570J, 660 or 560.


