


Installation
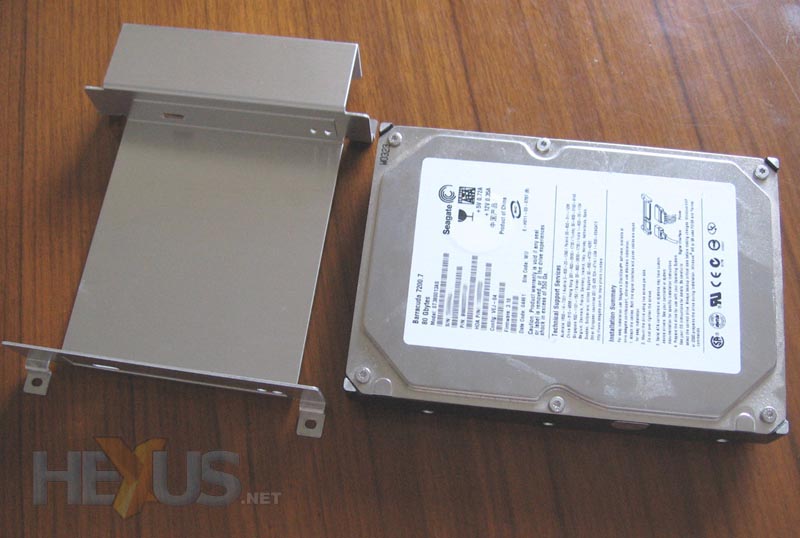
Time to start using the Disk Station, but first it needs a hard drive. There's no hot-swap here, but you must first install your chosen SATA drive into a cage.

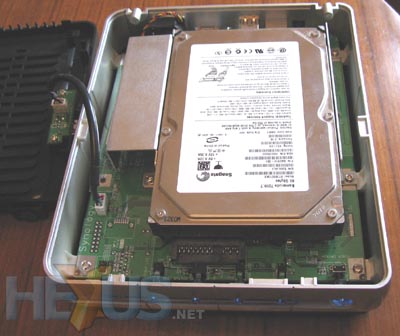
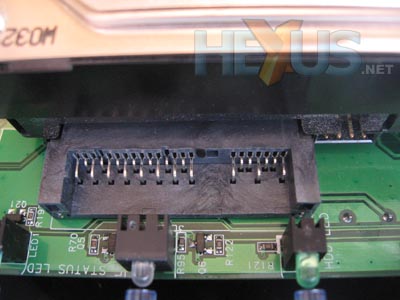
The cage screws into place once you've plugged the drive into the SATA sockets on the mainboard. Take care when doing so, otherwise you might find yourself snapping the connectors on the hard drive.
Once installed, the drive needs to be formatted. Plug the Disk Station in and power it up, immediately pressing the reset button until a beep is heard. Then, press the button again, the system will beep again twice and begin formatting, which takes several minutes. If the drive is already formatted by the Disk Station, doing this will reset the device IP address and password.
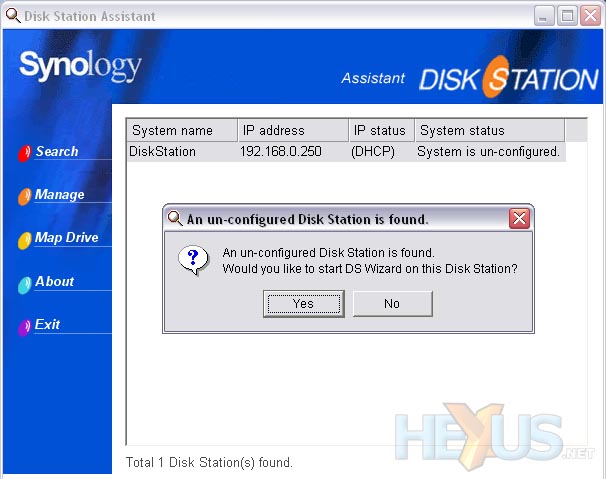
The Disk Station comes with a setup disk which scans the network for Disk Stations, so if you're not sure what IP the device has, you shouldn't have any trouble finding it. If an unconfigured Disk Station is found, a handy wizard can be run to set it up. This includes setting its name for network access, the password, IP configuration and time.
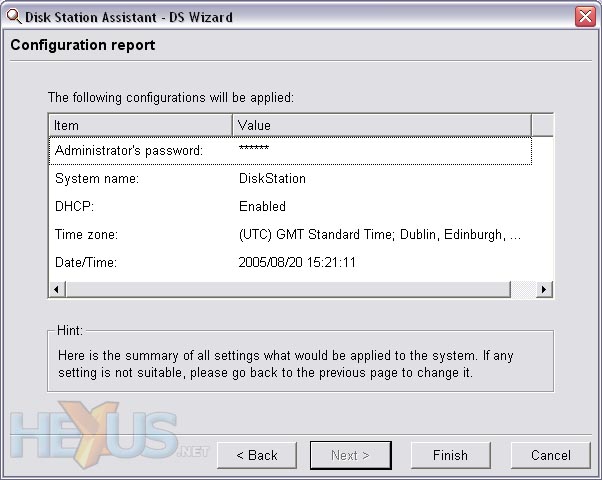
Once the wizard is complete the settings are uploaded to the Disk Station and applied. Now we're ready to rock and roll.


