


New Mounting Hardware
The review sample was shipped with the mounting hardware for LGA775 processors, a socket kit which also fits the LS. Socket kits for XE-II and LS are interchangeable, allowing you more choice across Asetek's product range and simpler support for products by Asetek.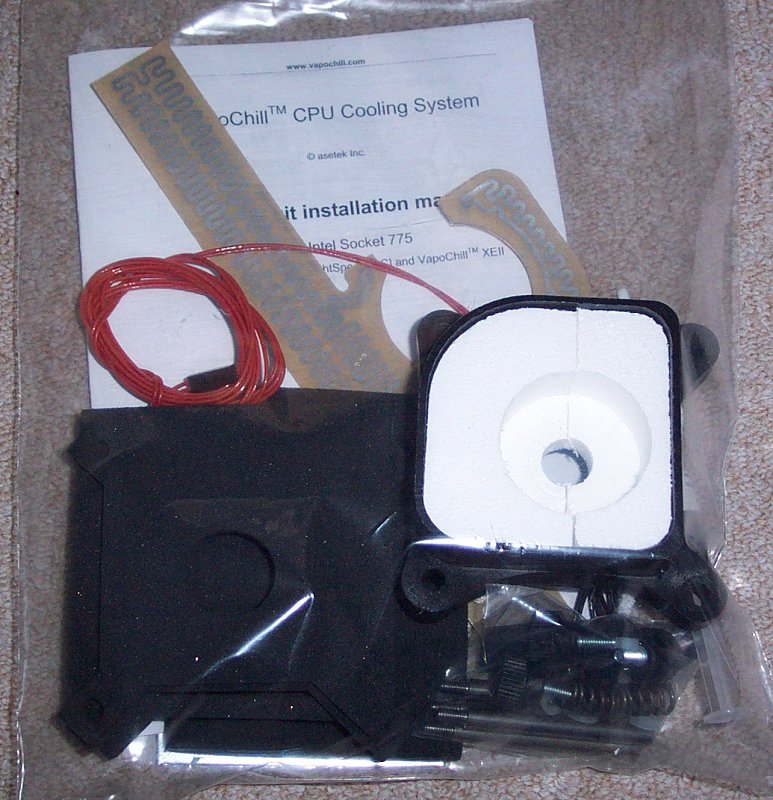
Click for a larger version

Click for a larger version
The LGA775 hardware is much like the Socket 754/939/940 hardware. You attach the black plastic head to the evaporator after having applied the head heater element. The polystyrene you can see is applied after you've pulled the evaporator head through the head, but I've placed it into the head so you can see where the evaporator fits through in the end. The only thing to look out for is the seal between the top of the head and the closed-cell foam that wraps the evaporator hose. There's the wiring for the head heater to pull through too, which gives you a small hole for air to enter. I personally Tommy Tape that gap up after attaching the hardware to the evaporator.
Click for a larger version
Click for a larger version
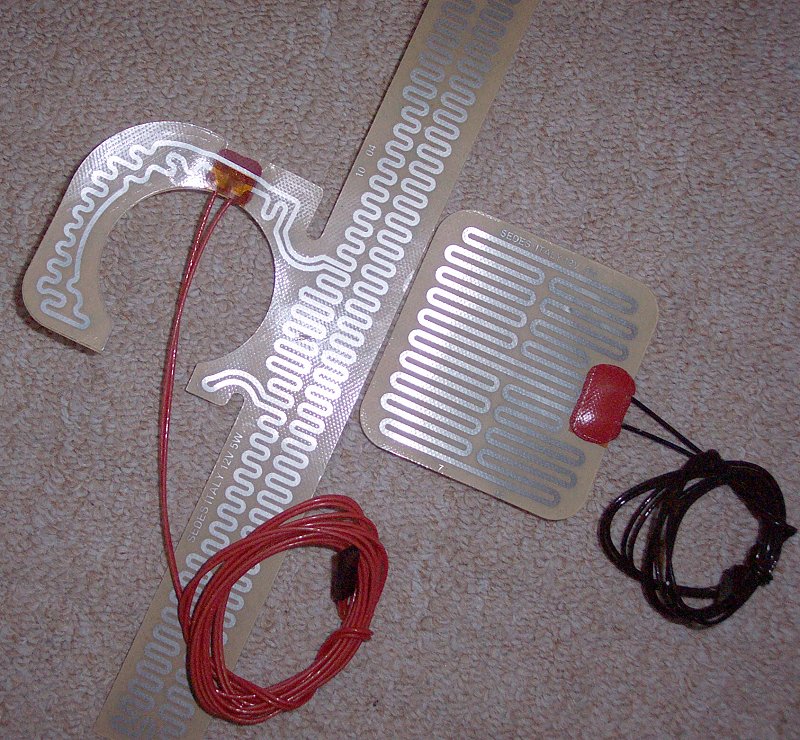
The heater you see on the left is for the evap head assembly, the one on the right goes on the rear of the mainboard, attached to foam you place on the mounting plate in the photograph below. You then basically create a closed environment using a series of layers like so.
Evaporator head
CPU
Foam layer around CPU and socket
Base foam layer on mainboard around CPU and socket
Mainboard
Foam and heater pressed to mainboard backside
Baseplate
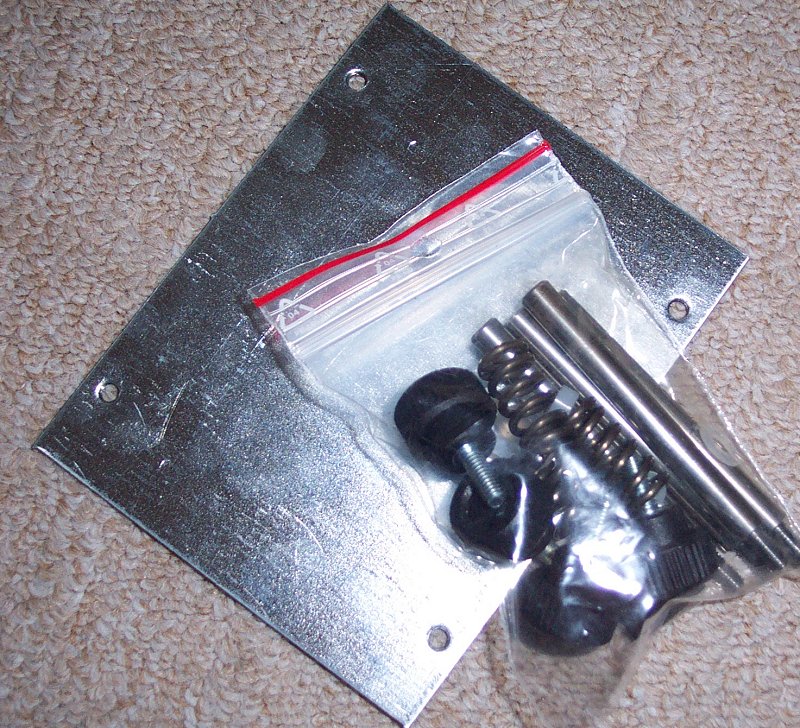
You can see the spring-loaded screws in the last photograph that hold everything together. You attach bolts to the baseplate through from the mainboard side, you then place your mainboard and CPU socket foam layers on top on the mainboard side, trimming off excess if necessary, before sliding the head over the bolts, retaining it to the mainboard and foam cell with the spring-loaded thumbscrews, building everything up in layers, step-by-step.
With LGA775 there's a small piece of foam to place inside the socket, like you'd use with Socket 754 but there's no covering of pins with thermal interface material; that's only applied to the CPU.
I say it every time I review a VapoChill but it's no more involved to use than an air cooler. There's more steps to go through, but it's not hard to do. You need to pay attention when installing an air cooler, you need to pay attention when installing a VapoChill, but neither is more difficult to grasp the concept of, or do. It's really easy to install.
ChillControl USB
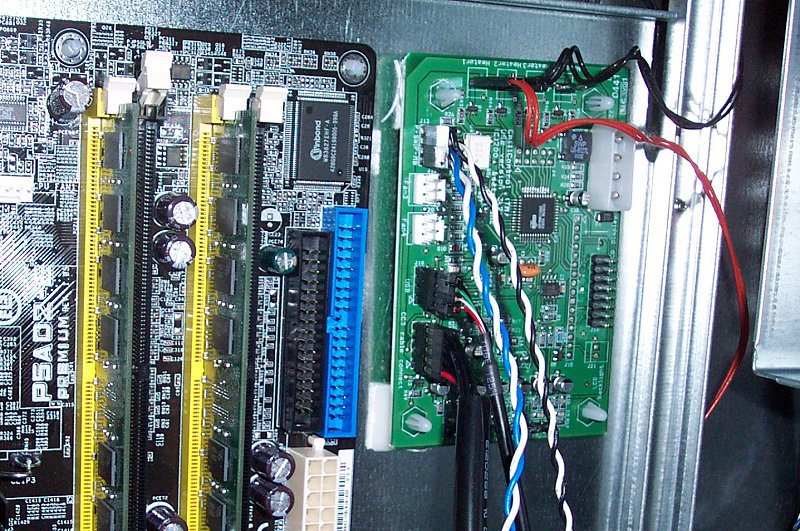
The ChillControl runs the show. You connect a cable from the compressor electronics to the ChillControl, that lets the CC power it up when ready. You connect power and reset cables from your mainboard to the CC, then the same cables from the chassis' power and reset buttons to let you start it up. There's a cable for the LCD if you've bought one. Then you plug in the connectors from the heaters and any fans you want it to control. Finally, you plug a Molex power connector in there from your PSU to give it juice. It's very simple to cable up, the CC itself has sticky feet to help you mount it to the chassis inside somewhere.The USB connector lets you drive it from software, monitor temperatures, control fan speeds and customise any connected LCD display.
It's the brains of recent VapoChill operations and it runs everything very well.
Click for a larger version
You can see it next to the ASUS P5AD2-E Premium, a mainboard based around Intel's 925XE core logic for Pentium 4 processors, that I used for the first set of my XE-II testing.


