


Introduction
While third-party heatsink-and-fan coolers for graphics cards offer excellent acoustic and cooling performance, as noted in our recent review of the Raijintek Morpheus, they are often hindered by their size. Some routinely exceed triple-slot thickness.
For consumers needing additional graphics card cooling capabilities over reference and non-reference designs, the options are limited. Should air cooling not tick all the right boxes, watercooling is the only real way to go.
Up until very recently, watercooling for graphics cards entailed custom waterblocks integrated into complex watercooling setups. Consequently, watercooled graphics cards have often been the choice of enthusiasts armed with technical knowledge and deep pockets.
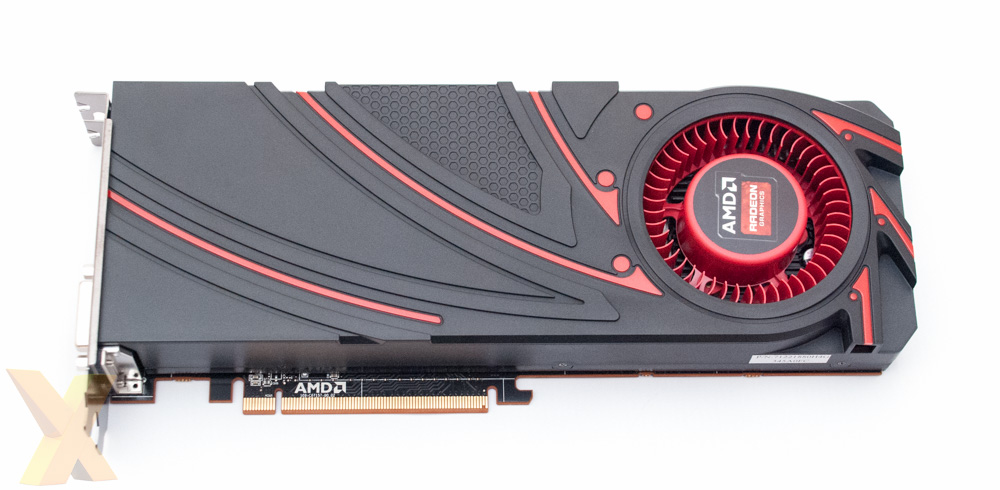
In the last year, the all-in-one (AIO) liquid cooling revolution has, of sorts, made its way to graphics card cooling. Today’s review product, the Corsair HG10, priced at £30, epitomises this. The HG10 is not a cooler in itself but a GPU-mounted bracket that attaches to a Corsair AIO cooler. In our testing we’re pairing Corsair’s HG10 with the Hydro Series H75 CPU cooler to tame the hot and noisy reference AMD Radeon R9 290 4GB graphics card housed inside a Corsair 600T system.
Installation
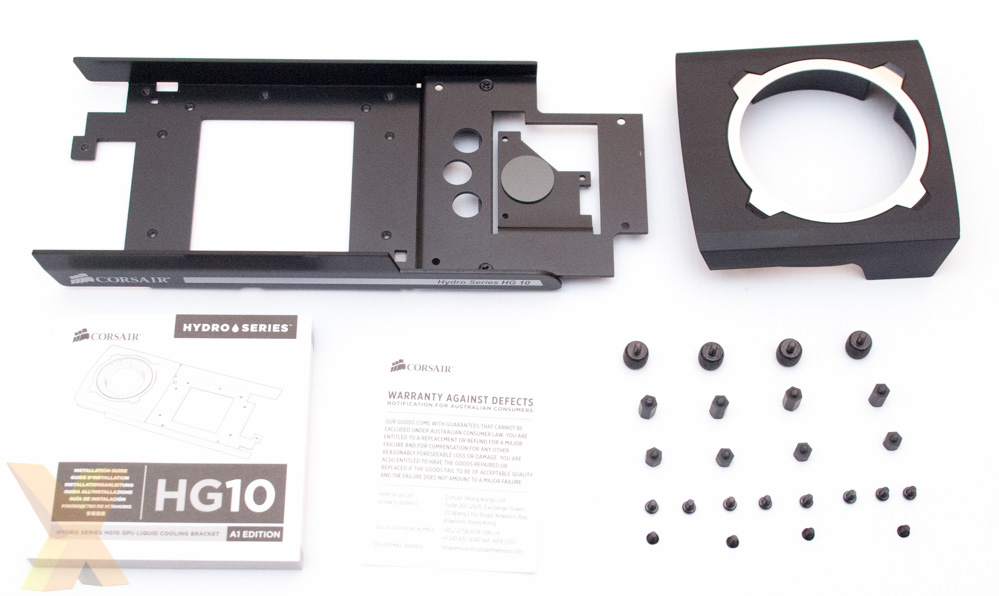
The HG10 supports the AMD Radeon R9 290/290X graphics cards (A1 Edition), with Nvidia’s high-end GeForce GTX GPUs being covered shortly (N1 Edition). The HG10 is a fairly lightweight package that includes a bracket, fan shroud, some documentation and a variety of screws. The end-user is expected to purchase/have an all-in-one liquid CPU cooler separately. Corsair specifies compatibility with any of its new Hydro Series coolers, but any like-for-like Asetek or CoolIT products from rival vendors should work just fine.
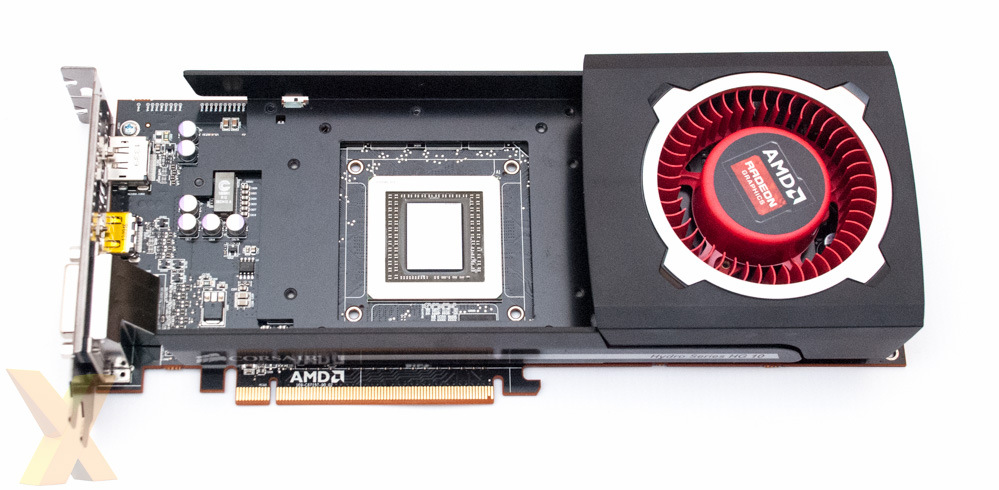
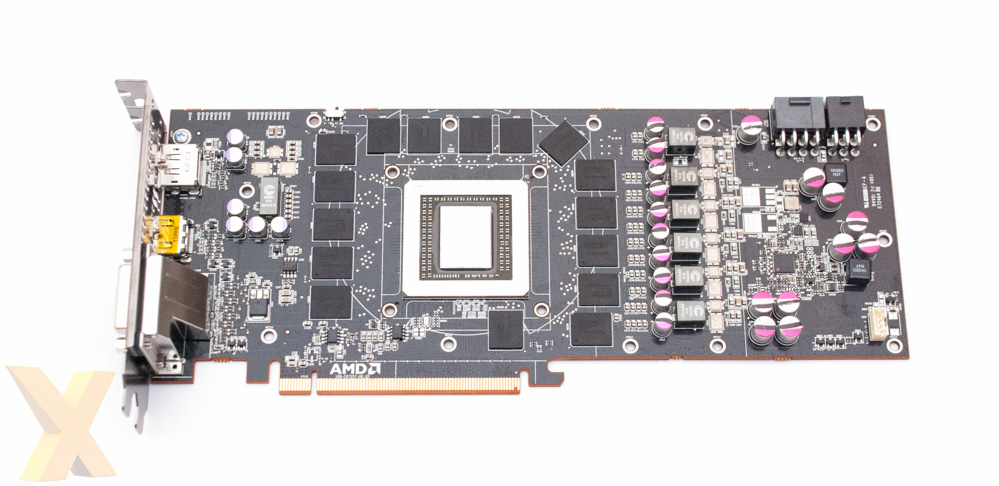
The procedure for installation on the R9 290 and R9 290X is identical. It starts with removing the stock cooler; a simple process that involves taking out all the screws and pulling the cooler firmly off.
 |
 |
When disassembling the stock cooler the fan and its securing screws should be kept as the HG10 requires them to be reused. The stock fan is tasked with VRM and VRAM cooling while the AIO takes care of the GPU core.
 |
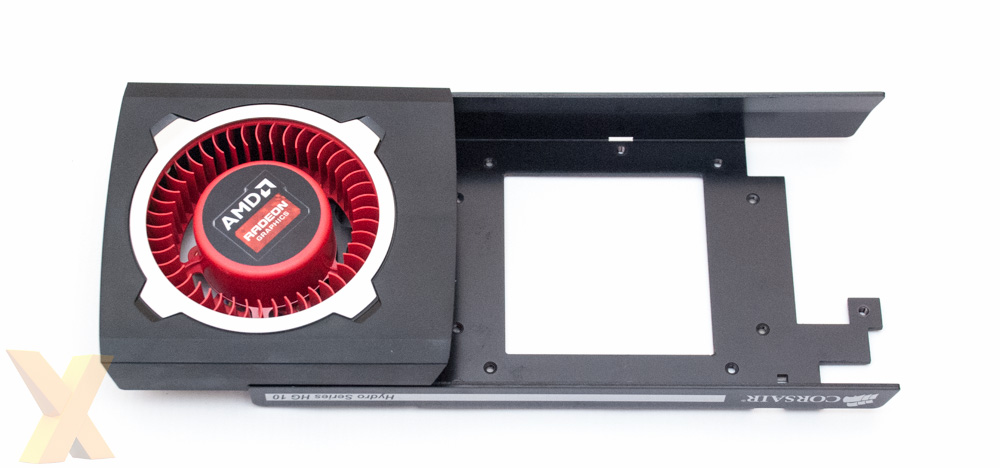 |
The Corsair-provided shroud is sleek-looking and gives the blower-style fan a chance to channel its airflow towards the VRMs. The bracket needs to be secured to the card and it is crucial to remove the plastic protectors covering the thermal pads on the shroud. The manual does not instruct the user to remove these. mind.
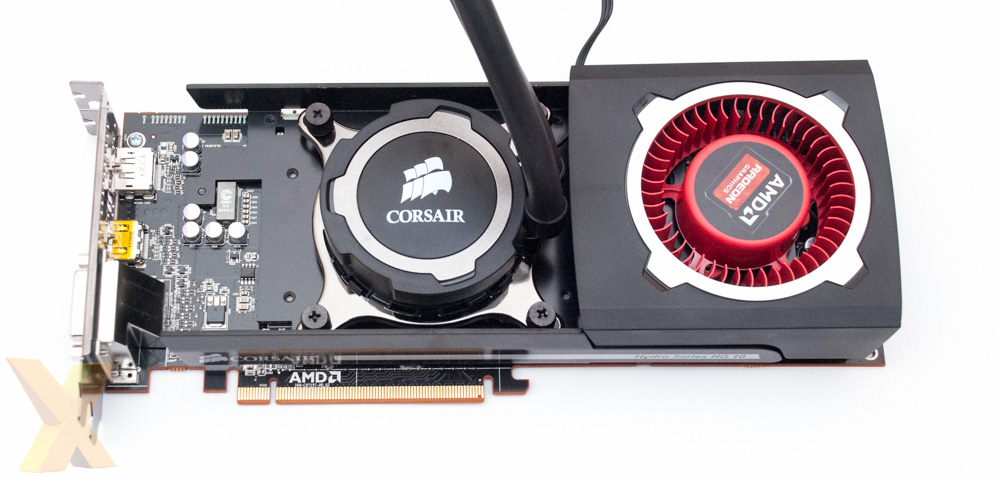
The final stage involves attaching the pump block of the chosen AIO to the GPU using the appropriate stand-offs, and it's also important to ensure thermal paste is applied to either the block or the GPU die.
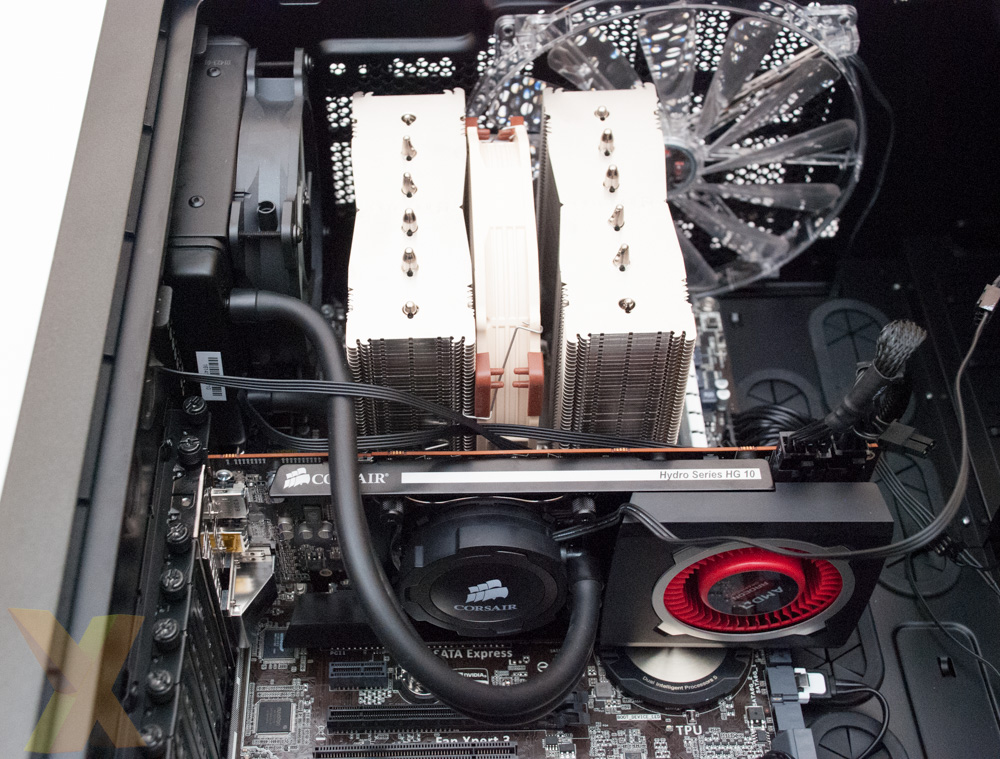
Radiator installation for the HG10 was amusingly difficult due to the fact the H75 would not fit inside our case between the over-sized NH-D15 CPU and rear 120mm fan slot. Consequently, we mounted the H75’s second fan outside the case to fit everything in, and pass its fan cable through a grommet.
Mounting options for the consumer-chosen AIO will be limited by the tubing length and the chassis in question, as well any existing hardware constraints. Consumers who already have liquid CPU coolers or large CPU heatsinks may find mounting a challenge at the rear of the case; while most side-fan mounts are also likely to interfere with graphics cards or CPU coolers. Mounting at the front, or top, of the case is mostly impractical due to inadequate tubing length. The most-ideal mounting location will nearly always be the rear exhaust in most cases.
 |
 |
The HG10 maintains a dual-slot form factor but the natural resting position of the tubing means two slots are exceeded. Corsair should have implemented a mechanism that secures the tubing in place in order to preserve the slim form-factor; Arctic’s Accelero Hybrid is a good example of how this is accomplished.
On reflection, the HG10 doesn’t solve the space problem but instead relocates the space needed to a more convenient location. The main idea is that you can keep your graphics card close to dual-slot thickness and still attain enthusiast-grade cooling.


