


External Rear - Exposed
OK, so we removed the ‘fist-screws’ and side panels to take a closer look at the back-end of the Aguila, and that’s when we noticed something interesting, screws all over the back of the skeleton of the chassis.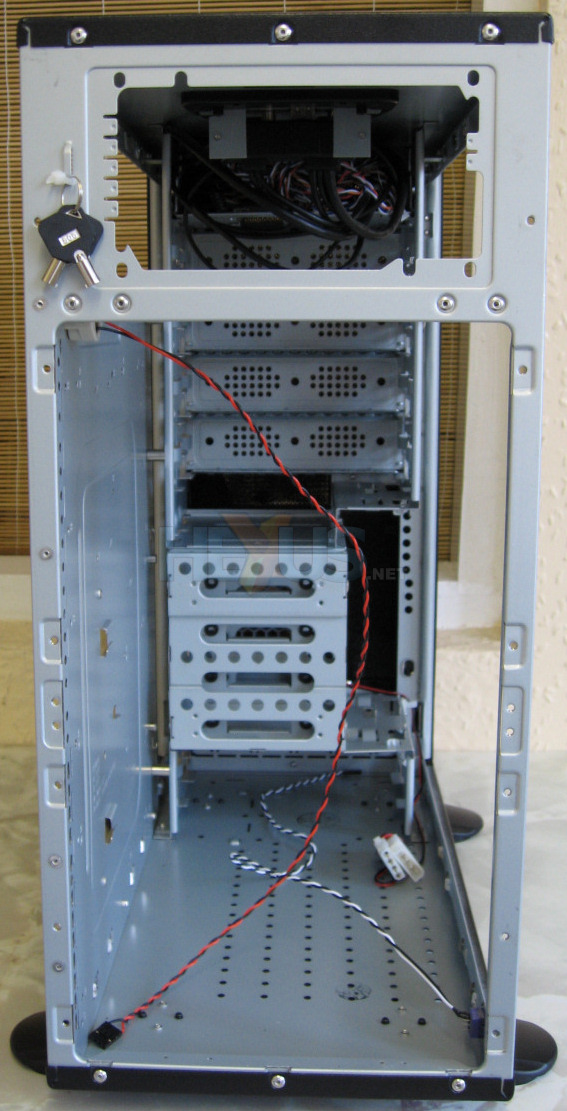
Picking up our trusty Bosch IXO screwdriver we proceeded to take the chassis apart, bit by bit. We got as far as you see above before we had to stop. Thermaltake, for some reason, has riveted the motherboard plate in place when screws would have done the job nicely.
As it is, the removable back plates are there to allow you to reconfigure the Aguila for the BTX format. It was incredibly easy to take apart, and, fortunately, just as easy to put back together.
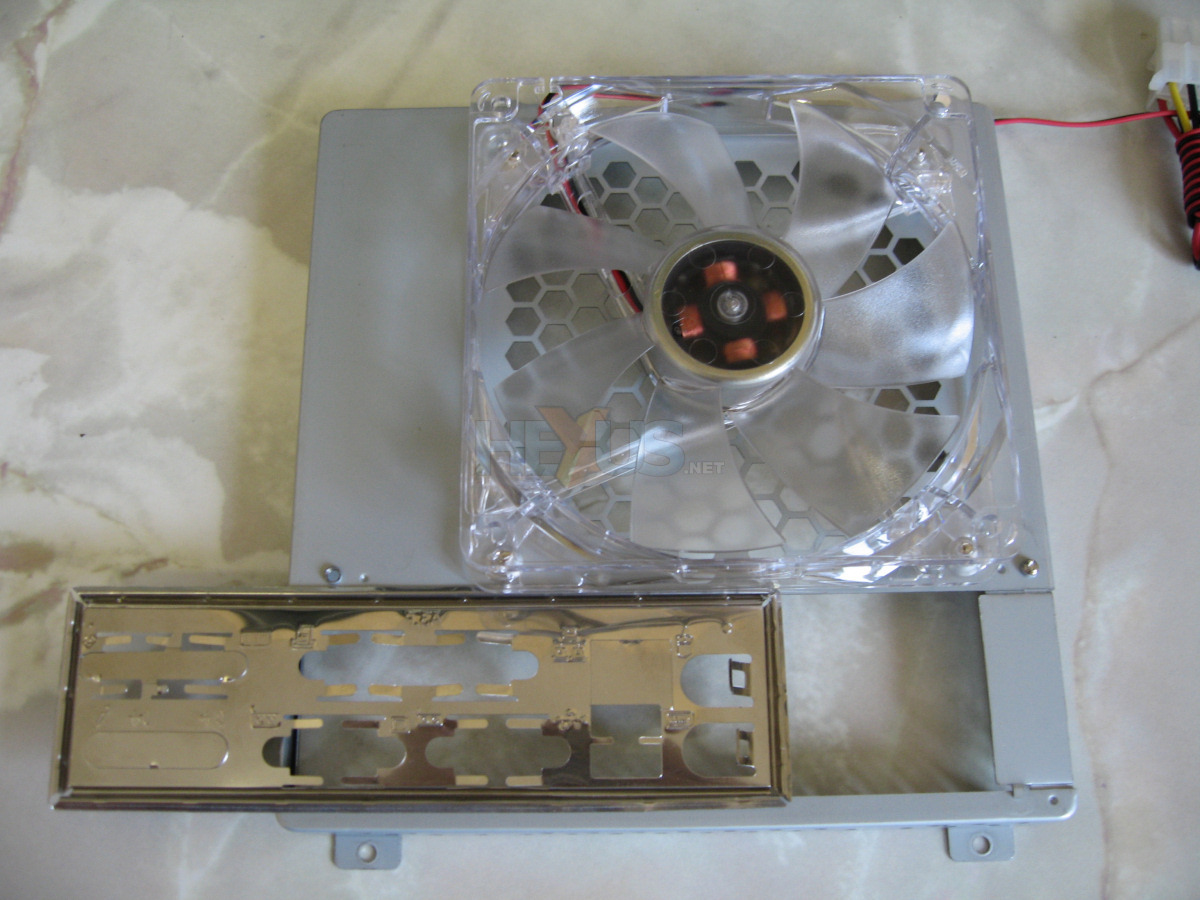
In regards to the fan mount above, you will see that the motherboard plate is ready to go in. This is where it started to get tricky. The majority of motherboards are manufactured with a cheap steel-pressed I/O plate. The Aguila chassis, however, requires you to slide said plate into place rather than push and click, so we did end up with a couple of kinks in ours.
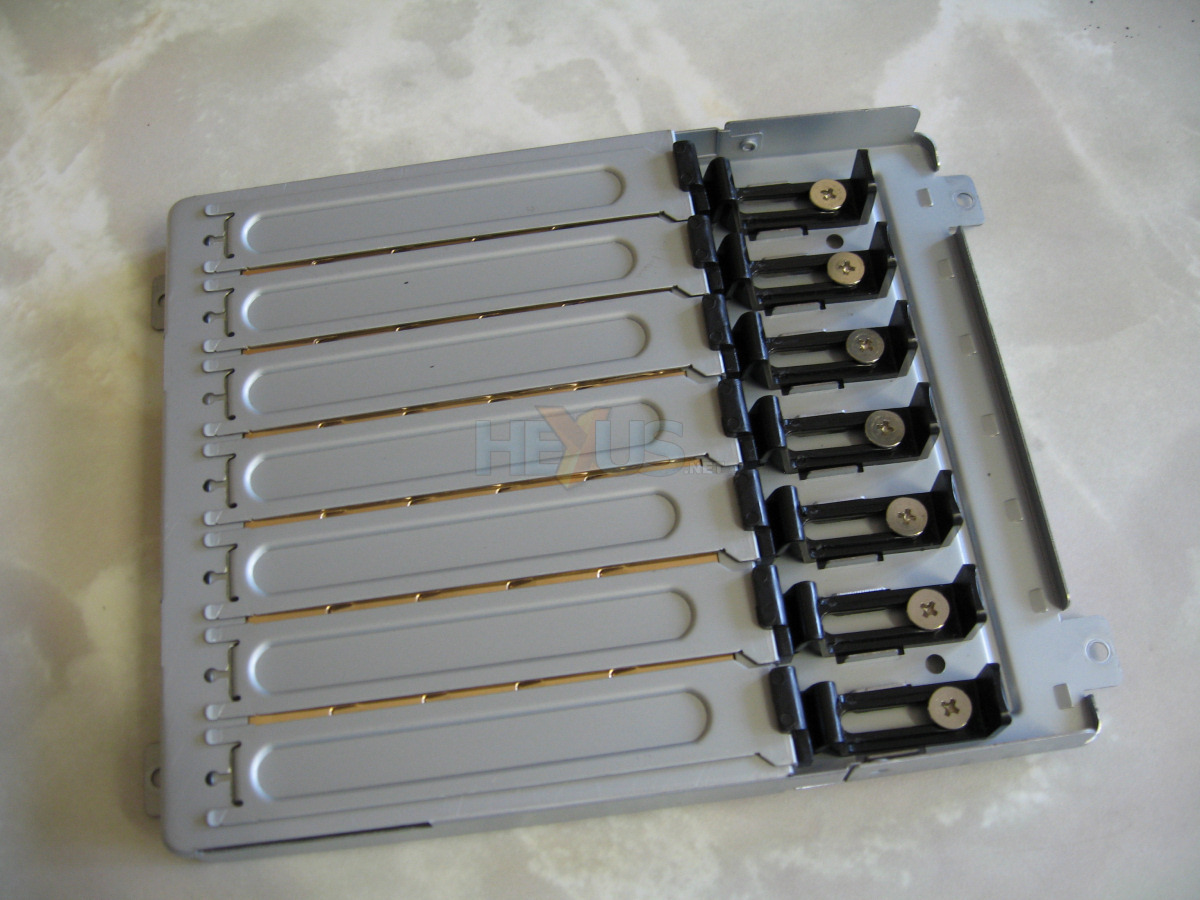
The rear add-on cards plate features, at first glance, a holding mechanism that requires the use of a screwdriver. Fortunately, though, it is a tool-less process, just slide the black clip up, pop out the plate and mount your card.


