


Freedom is a package deal
The first thing we're going to worry about is getting access to as much software as possible. From the desktop, click System, Administration, then Synaptic Package Manager. Synaptic allows you to install or remove specific "packages", which contain software available on Ubuntu. We're going to enable two extra sections of software - Universe (Free software which is not part of the main Ubuntu distribution) and Multiverse (Software which may not be Free, or may be covered by restrictive patents, which is not part of the main Ubuntu distribution). To do this, in the Synaptic window, click Settings, then Repositories. Tick all five boxes on the "Ubuntu Software" tab, and all the boxes except for "feisty-proposed" on the Updates tab. Make sure these are ticked, not dashed! Click Close, then Reload. You will now have access to buckets of extra software. While we're here, let's do a system upgrade - click Mark All Upgrades, then Apply. This will install all released updates to the basic system (about 200 MiB of downloads, at time of writing).
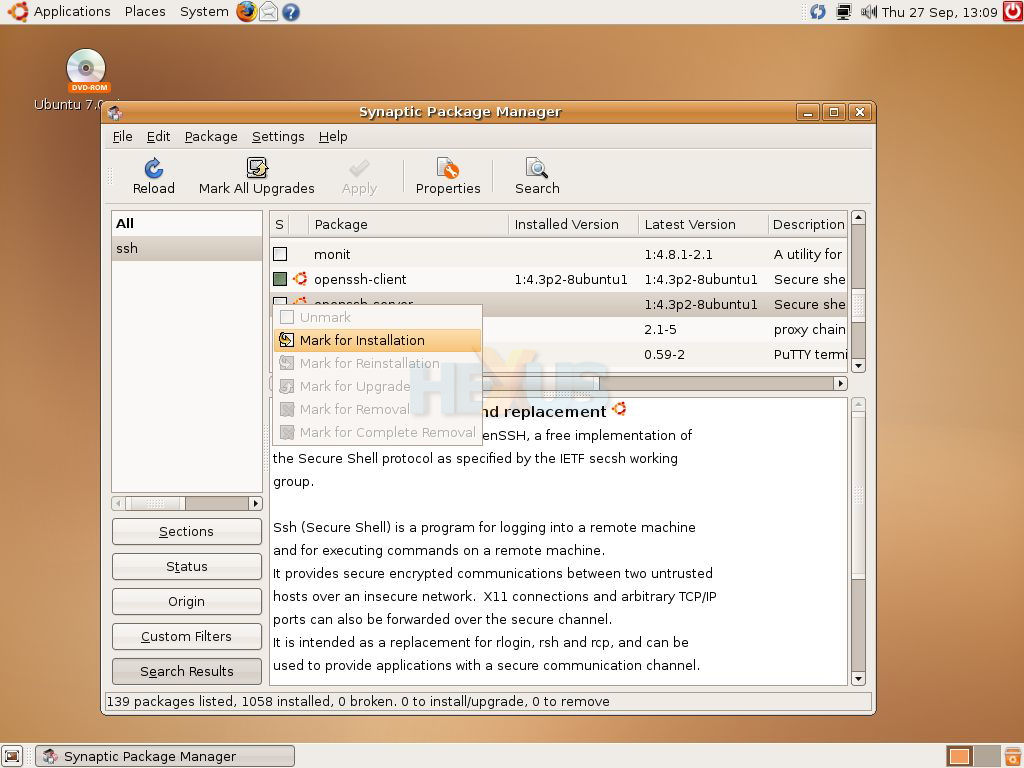
We're also going to install a few key packages which are not part of a basic Ubuntu desktop install. First, search for a package named "ssh". Click the white box next to it to mark that you want it, then click Apply. This package will enable you to make a remote text-based connection to your machine (e.g. to make changes or fix problems over the internet). Next, a few housekeeping issues. Close Synaptic, and go to System, Administration, Time and Date. In the Configuration box, select "Keep synchronised with Internet servers" - it will offer to install the required software, which you want. Similarly, we're going to install some file-sharing support. Go to System, Administration, Shared Folders. A window will pop up offering to install sharing support for both Windows and UNIX systems - you want to enable this, so agree.
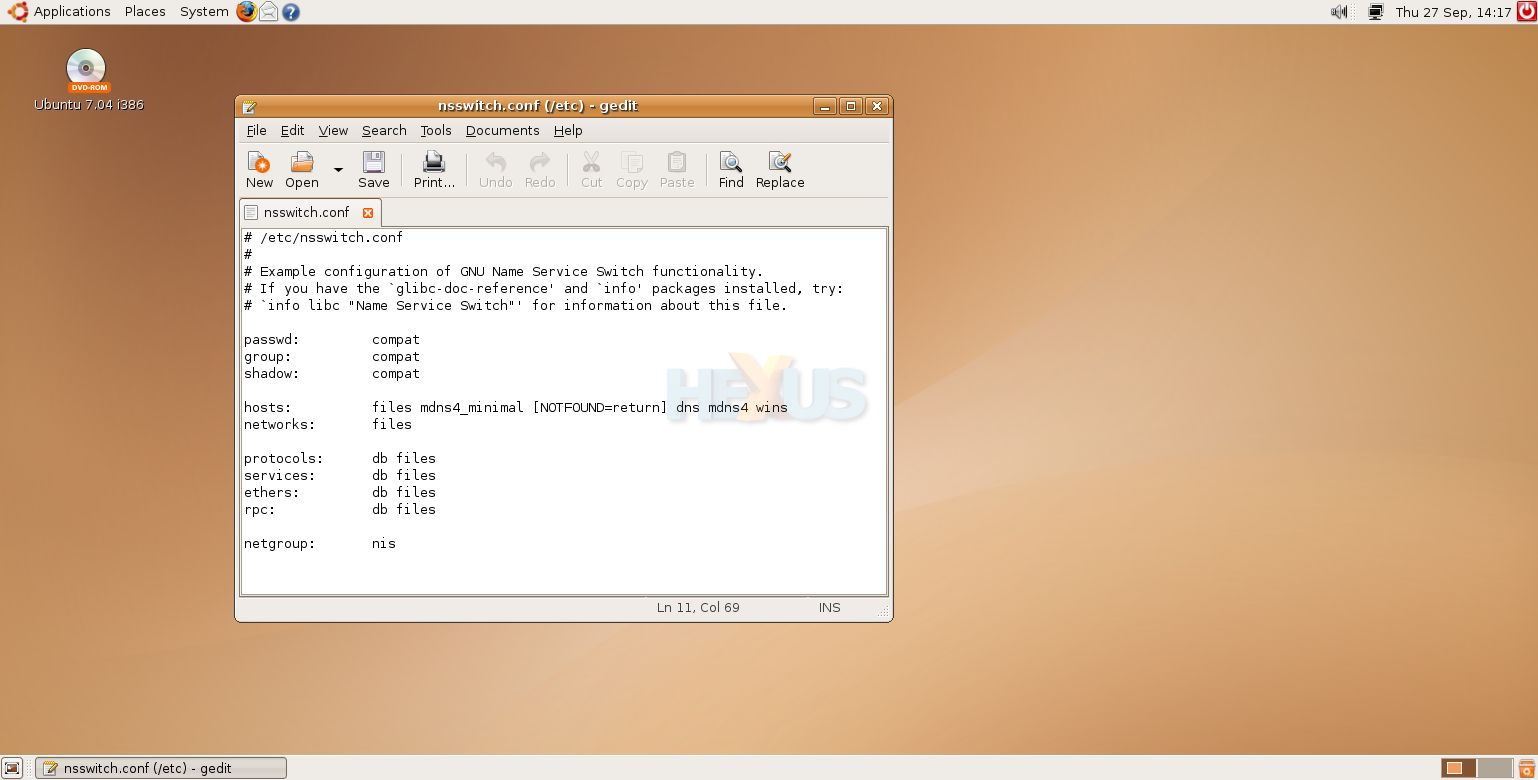
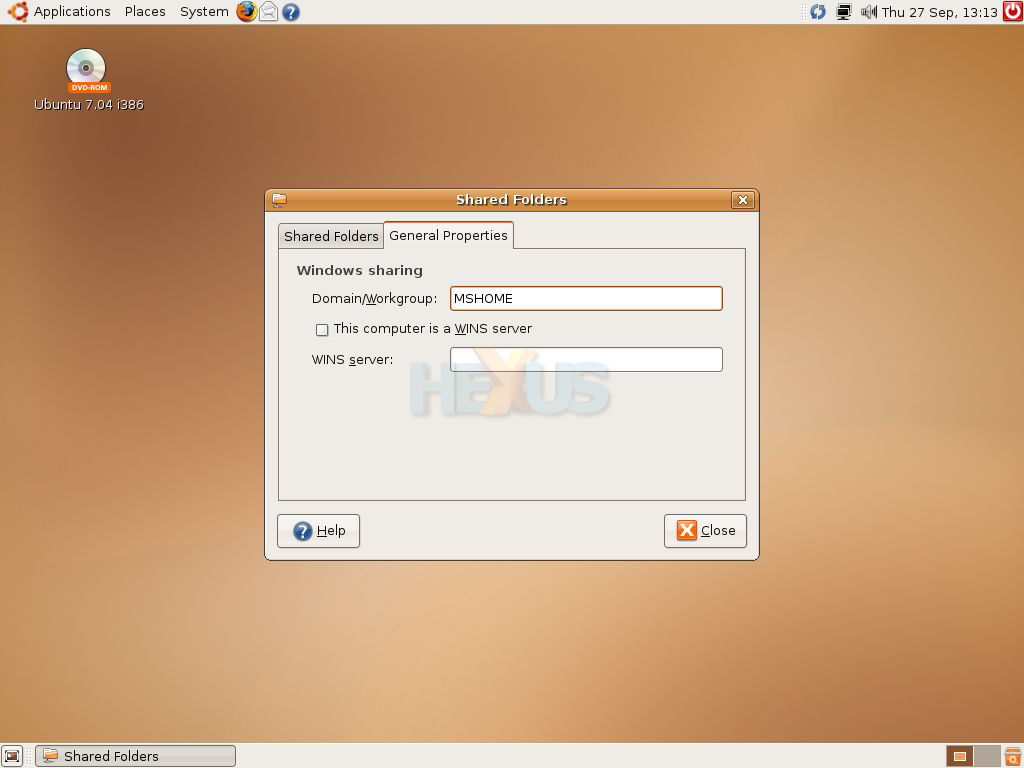
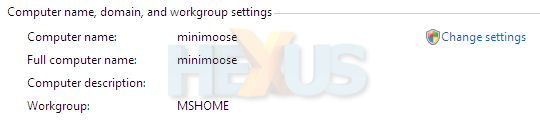
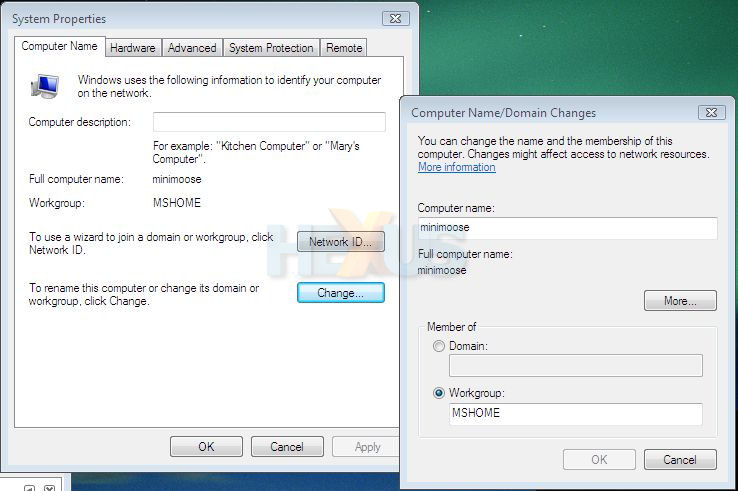
Now we're going to take care of a slight technical problem. Windows machines are able to communicate with each other purely by name (e.g. "ping windowspc" from a command prompt), but as standard, they won't be able to see your Ubuntu machine by name (or vice versa). For this to work, we're going to use a function of Windows File & Folder Sharing (and its Linux equivalent, SAMBA). Fortunately, we already installed the appropriate server on the Linux machine a moment ago, so the only configuration required for Windows to see Linux is to ensure everybody's in the same Workgroup. In Ubuntu, it's set from System, Administration, Shared Folders, General Properties. In Windows, it's in Computer Properties. Either way, this value must be the same on all machines on your home network. Now, to make the Linux machine see Windows machines by name, you need to install an extra package called "winbind", and configure the system to check the winbind daemon for machine names. Fire up Synaptic, and install the "winbind" package. Once that's installed, we need to edit a config file. Press Alt-F2 to open a "Run" dialog, and type "gksu gedit /etc/nsswitch.conf" - this may ask you for your password, and give you the file to edit. You want to find the line starting with "hosts:", and to stick "wins" at the end of it. Save and quit, you're all done here.
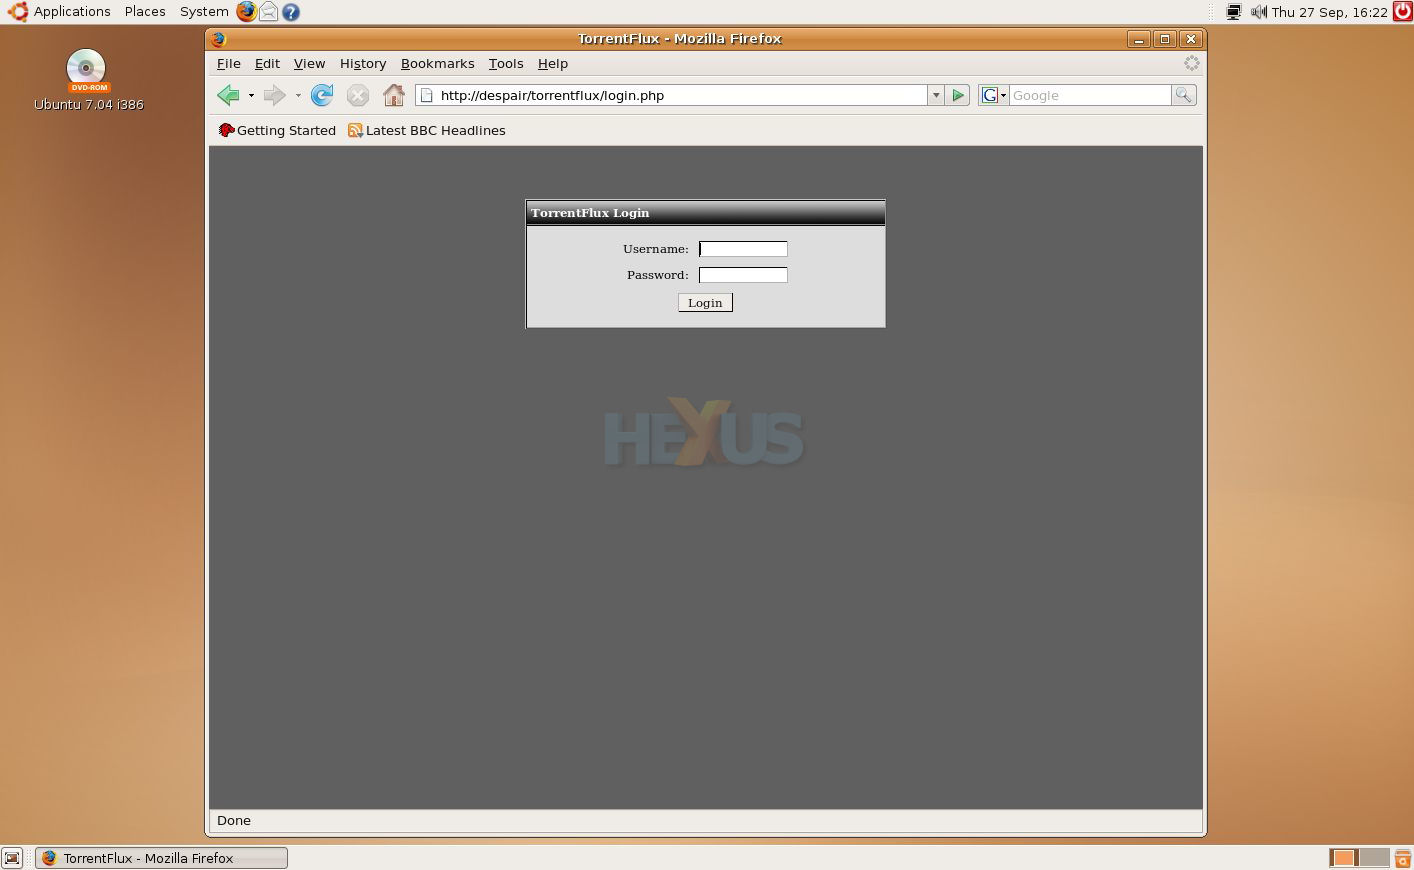
Now, to install our first useful service. Fire up Synaptic, and install "mysql-server". We're going to install the "TorrentFlux" web-based BitTorrent client in a moment, but we need to sort out a stupid bug in the package first. TorrentFlux allows you or any other authorized users to administer all possible torrents, as long as the server is switched on and working, from a web browser. Now, the fix. Hit Alt-F2 to get the Run dialog, and type "gksu -- mysql -e "CREATE DATABASE torrentflux"". That's the bug worked around - you should now be able to install the "torrentflux" package in Synaptic without issue. When it asks, tell it to use dbconfig to set up the database, and leave both password boxes blank. Fire up a web browser anywhere on your network, visit http://linuxservername/torrentflux/ and... tada! The username and password entered here will be used as the new admin password for TorrentFlux, so make sure you're the first to log in and use a sensible username and password.


