


Basic editing
The first substantive task in any video editing program is to bring in the different media you want to edit and join together. Although 3D Edit allows clips to be dragged straight from the file dialogue onto the timeline, it’s best to import footage to the Project window first. This offers ten numbered bins to help organise clips into different categories, although the bins can’t be named.It’s also not possible to change the size of the thumbnails representing each clip, or turn them into a simple file list, so things get messy if a project is using a lot of files. The Story Tool is similar to the Project window but, apart from being able to give clips descriptive names, we didn’t find it did anything that different to the Project window.
Although 3D Edit can work with many different video file formats, it can be picky about some Codecs. The manual has a detailed section on this topic. The latest version we downloaded had just added WMV support, and we were pleased to find that even WMV HD files at 1,440 x 1,080 could be imported, although they weren’t displayed with the correct aspect ratio. Canopus HQ AVIs in 1,080i HD could also be imported, although again the proportions were wrong. And, DV files captured using Matrox’s MediaTools caused an error message when we tried to place them on the timeline.
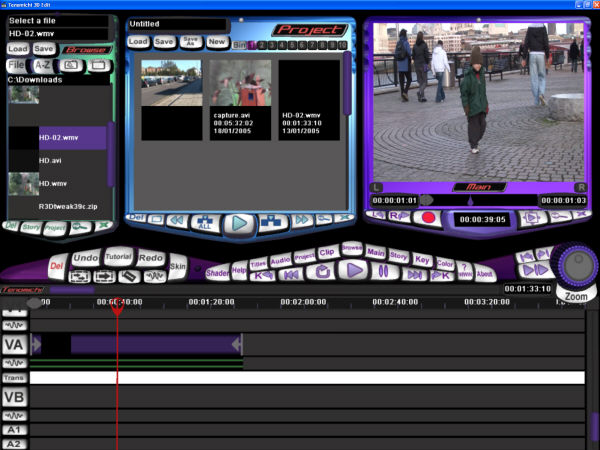
Even files at HD resolutions can be imported and edited, although the aspect ratio
is displayed incorrectly at 4:3 rather than 16:9
Once all the media elements have been imported, 3D Edit starts to behave a bit more like a normal video editing app. Clips can be dragged to the timeline, which offers A and B video tracks plus six superimposition tracks. Once a clip is on the timeline, its in/out points can be trimmed by dragging either edge of the clip, although we found this a little too unresponsive for frame-accurate cutting.
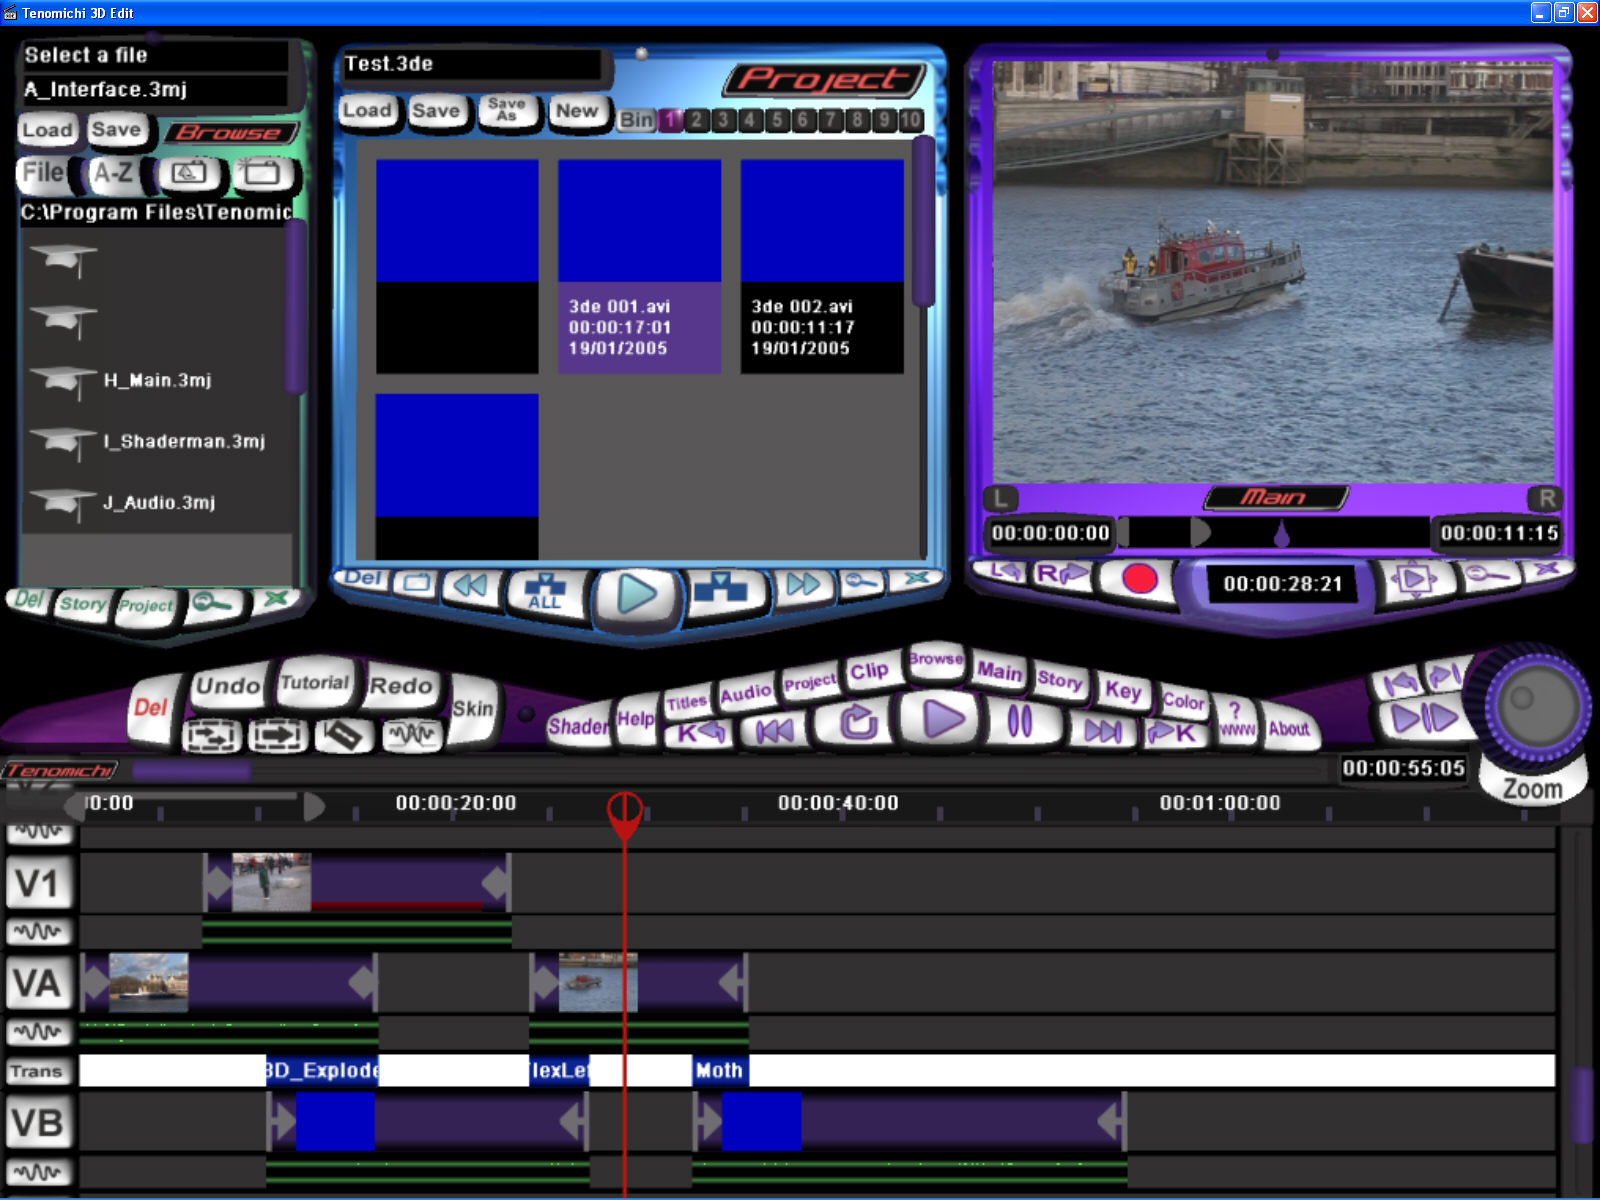
The timeline behaves like any other video editing app, with eight layers of video in total
including the two main A/B tracks
Alternatively, double-clicking on a clip loads it into the Clip window, where the mouse wheel can be used to shuttle through frame by frame. Footage can also be loaded straight into the Clip window from the Project window by double-clicking. However, there are no buttons to directly send a trimmed clip from the Clip window to the time line, instead, must be dragged over there.

The Clip window allows for finer trimming than simply dragging end points on the timeline
Overlapping footage on the A and B tracks automatically receives a dissolve transition from one to the other. Happily, there is a selection of common timeline editing tools. There’s a razor for cutting clips into two, plus ‘Move all’ and ‘Move all in a track’ tools. Zooming in and out of the timeline is another 3D Edit function which is easy to use once you know how, but it’s not entirely obvious at first. Simply clicking on the Zoom button and moving the mouse up and down performs this function. Similarly, clicking on the dial above the Zoom button turns the mouse wheel into a timeline shuttle, although the dial doesn’t have any way of showing when its in that mode.


