


Installation
Installing the Dual Storm into your case is a relatively simple (if slightly fiddly, as these things tend to be) process. The fan is provided with four long screws and nuts, which are used to mount the fan itself into the case. The three-pin and four-pin Molex connectors can then be plugged into a spare fan header and the power supply respectively. Finally, you are left with a choice of where to mount the fan speed controller. This is also where you are likely to run into a little trouble - The cables which run from the fan to the controller are somewhat short, and thus limit which location you can use for the controller. In my instance for example, the distance between the fan and a free 3.5" drive bay was too far for the cable, thus I had to settle with the rear backplate variant of the controller. This is then simple enough to fit, requiring the knob for controlling fan speed already connected to the fan via the requisite wires to be clipped and then screwed in via a nut to the backplate or 3.5" bay. The plastic knob for controlling speed then clips onto the front of this, and you're done. You can see how the fan fitted inside a case below.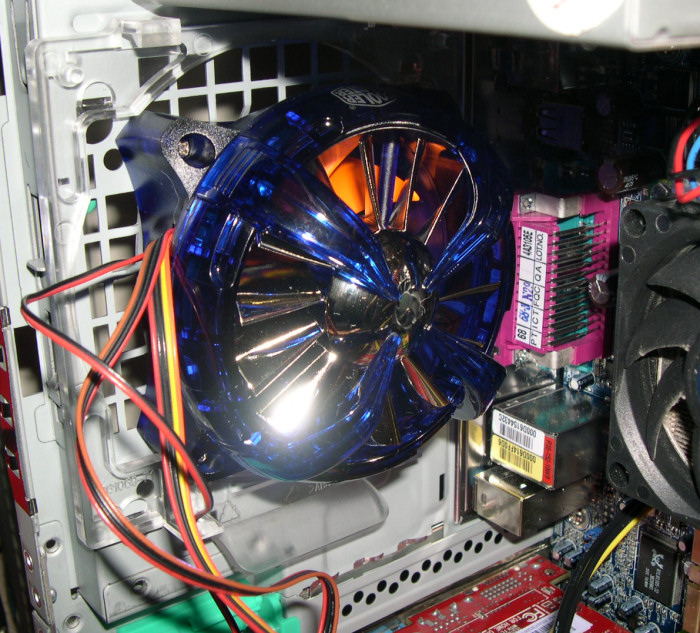
Click for a larger image
Here's how the fan speed controller mounted via the provided backplate into a free slot turns out.
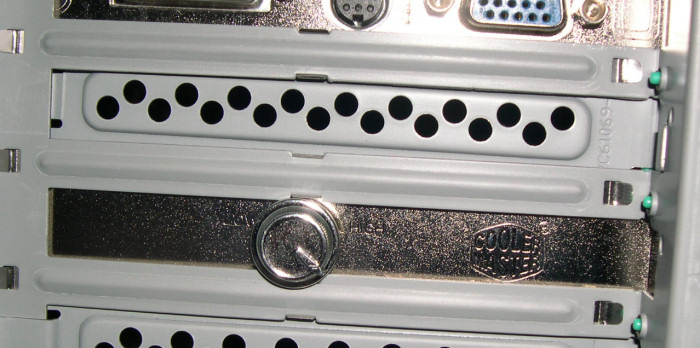
Click for a larger image
With all that done, it's a simple case of powering up the system and
seeing the device's blue LED spring into life as the Dual Storm's two
fans begin to spin. These can then be controlled via the speed
controller, with gradual settings from 'Low' to 'High'.

Click for a larger image
So, installation was simple enough, despite the lack of a manual.


