


Installation
If you've already worked with Corsair's H50 cooler, you're in luck - the H70 is every bit as easy to install.
Better still, if you're upgrading from an H50 to a H70, you'll find that Corsair's backplate and mounting kit hasn't changed - so you should be able to just swap out the old for the new.
If you're a newcomer to Hydro Series CPU cooling, fear not, it's a lot easier than it looks. If you've installed any type of CPU cooler in the past, fitting the H70 should be simple and straightforward.
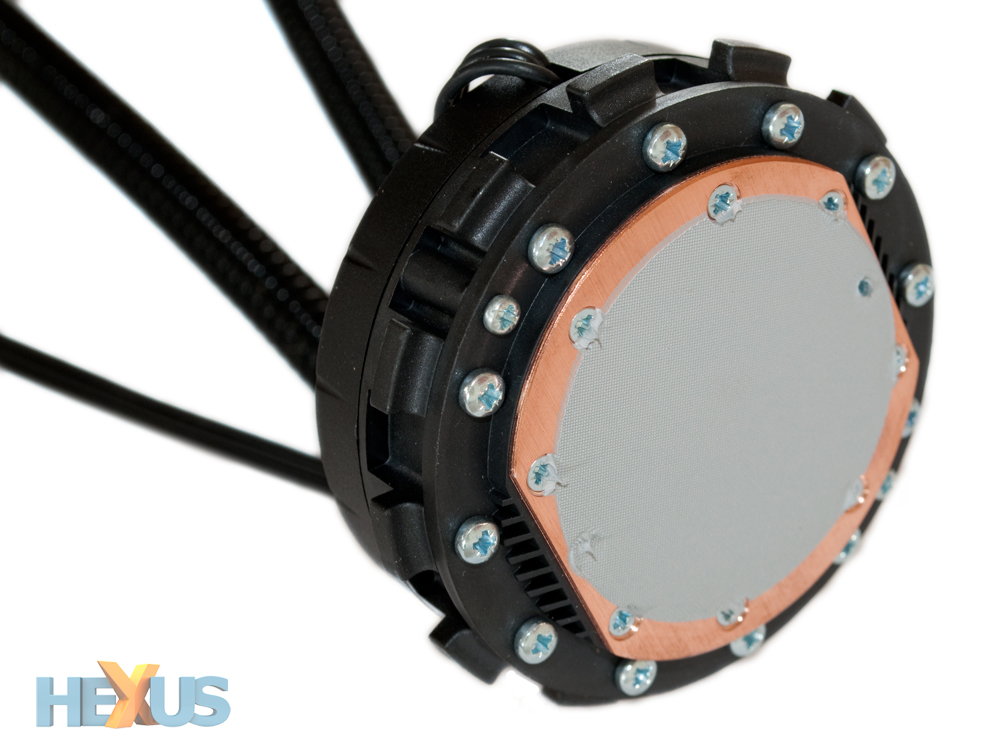
Making the process as easy as could be, Corsair ships the unit with thermal paste pre-applied to the pump - a Godsend for users who tend to make a real hash of applying the paste manually, myself included.
In the box, mounting kits are provided for all of the current high-end sockets; Intel LGA1366, LGA1156, LGA775 and AMD AM2 and AM3.
Like the H50, Corsair's bundled manual is clear and well illustrated, and users shouldn't have any trouble with installation on the above-mentioned sockets. We're working with LGA1366, so here's a brief run down of the install process.

You start by applying the correct blackplate (four are supplied, one for each supported socket type) to the rear of your motherboard using the bundled adhesive strips. There aren't any spare strips, though, so you'll need to source your own for a re-install.
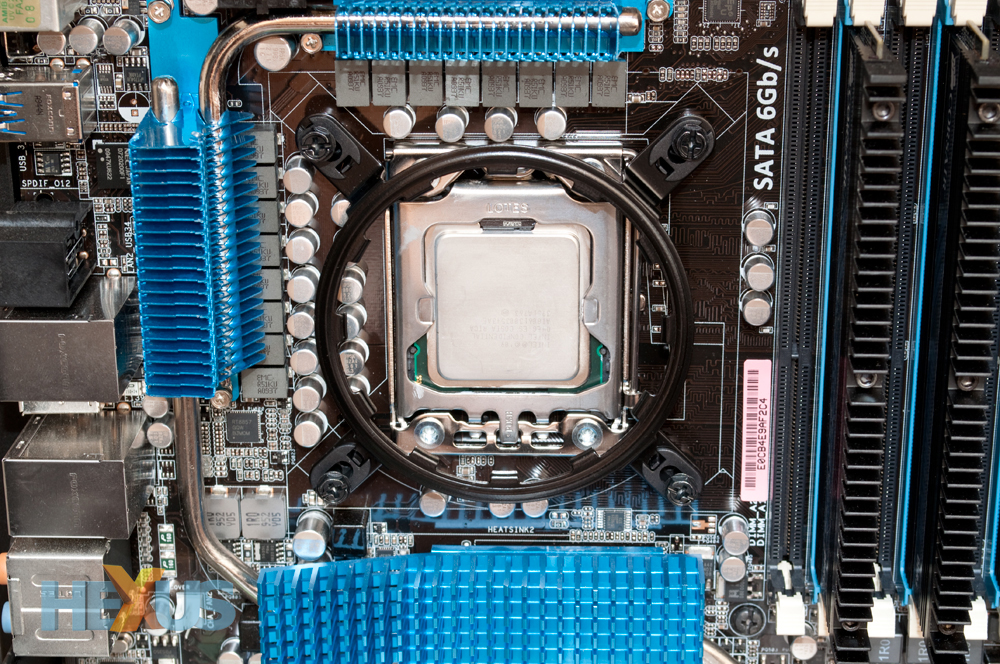
With the backplate in place, you loosely attach a retention ring. Don't tighten the screws too much just yet, the pump needs to go in before tightening.
The pump is installed by slotting into the retention ring and turning clockwise. Once locked into place, you can tighten the four screws to secure the unit and then attach both the looped radiator and fans to your chassis.
Remember, it's recommended to push air from the outside in. In Corsair's own words, "this ensures that the delta between the air temperature and the temperature of the radiator is maximised".
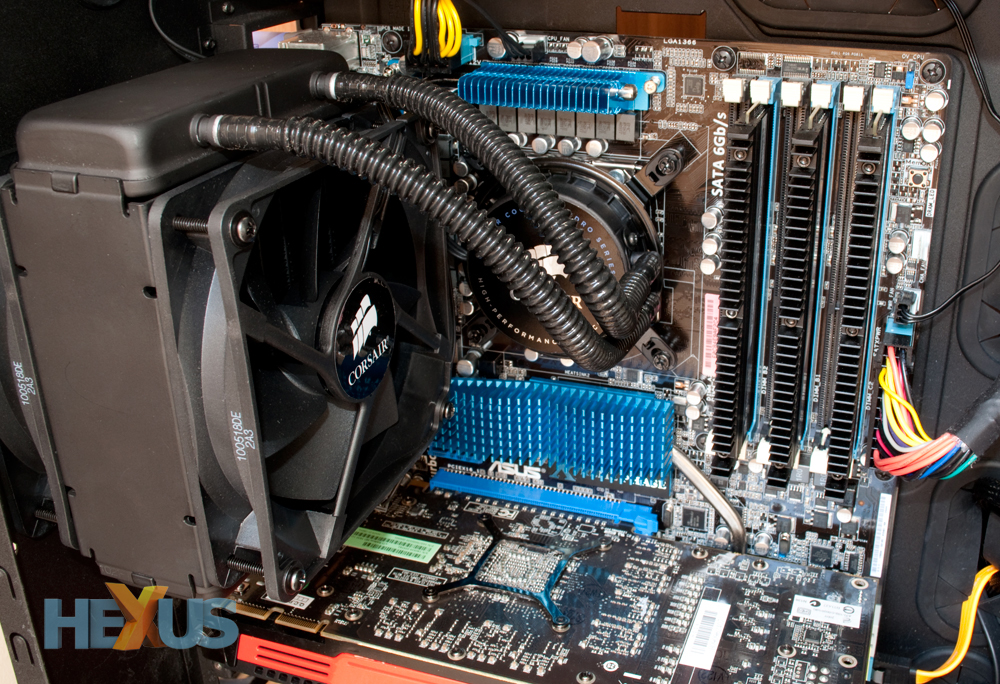
Both fans feature engraved arrows to illustrate air flow direction, and a Y adapter is included to enable you to connect both fans to a single three-pin header on your motherboard.
The radiator's a chunky unit with two fans attached, and though we've no trouble housing the complete set in a capacious Obsidian Series 800D chassis, users with less roomy enclosures could house the farmost fan outside of the chassis body if necessary.
Don't forget to connect the pump power connector to a three-pin header, too.

And that's that. We were impressed by the H50's easy installation and Corsair hasn't spoiled a good thing. The H70 is just as easy to put in place and as far as closed-loop water coolers are concerned, they don't come much easier than this.
One fun quirk that we would point out, though, is that it's always a little unnerving to hear the sound of flowing water emanating from your PC. If you're new to liquid cooling, the occasional glug glug can take some getting used to.


