


And so it begins
In our previous Mac Pro articles, we've taken a look at machine itself, how to upgrade the memory, hard drives and WiFi connectivity.The daddy of all upgrades, however, remains the CPU(s), so we took our brand-new machine apart, ripped out the dual 2.8GHz Xeon E5462 processors and installed a couple of even-meatier X5482 Harpertown Xeons, built on a 45nm process.
Hang tight as we navigate around the Mac Pro and give it a little extra oomph..
As usual, we removed the side-panel by lifting the latch at the back of the chassis and popped the panel off.
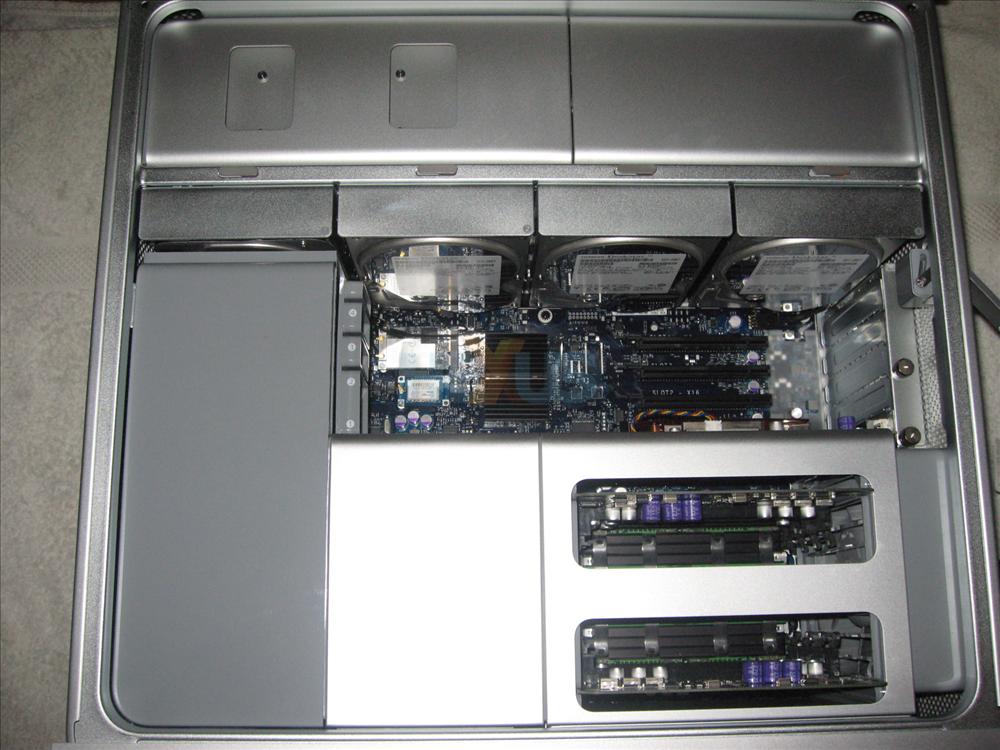
We're then presented with this vista, with the FB-DIMMs at the bottom and the hard-drive cages at the very top.
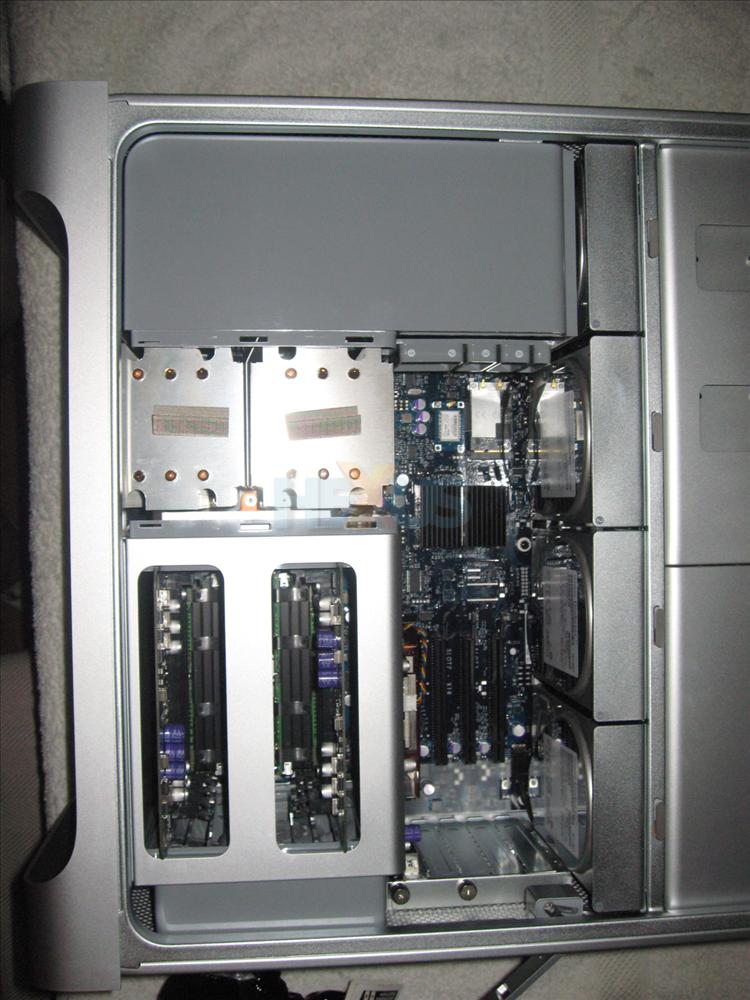
The silver panel, that fits between the plastic fan-bearing duct on the left-hand side and the FB-DIMMs on the right, can be prized away easily enough - we just pulled the clips on the back and gained our first look at the heatsinks that cool the underlying CPUs.
The first problem to surmount is how to remove the plastic duct without damaging the system.
The only sensible way to do so is to gain clear access to the two screws that hold it in place. The first is located by the WiFi card and can be gotten at by removing the first and second hard-drive cages, located at the very top, remember. We needed a long-ish screwdriver to gain unrestricted access, however.
The second screw is easier to get to - it fits into the side of the chassis and is thus a cinch to remove.

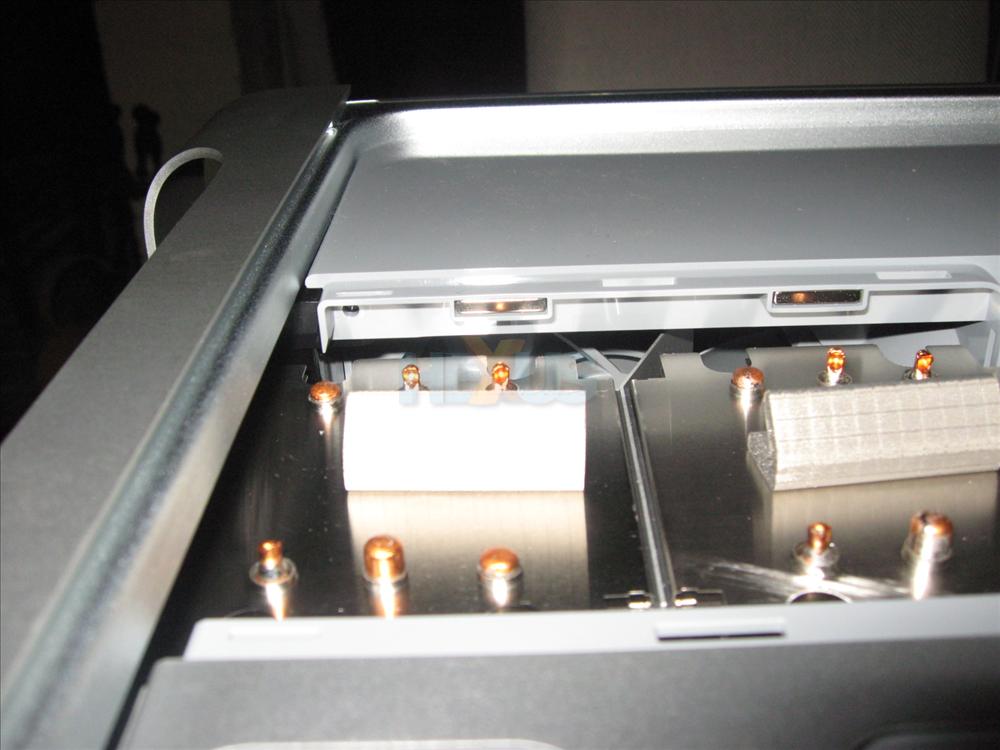
We could then pop the duct out and gain entry to the heatsinks underneath, as shown in the shot below.
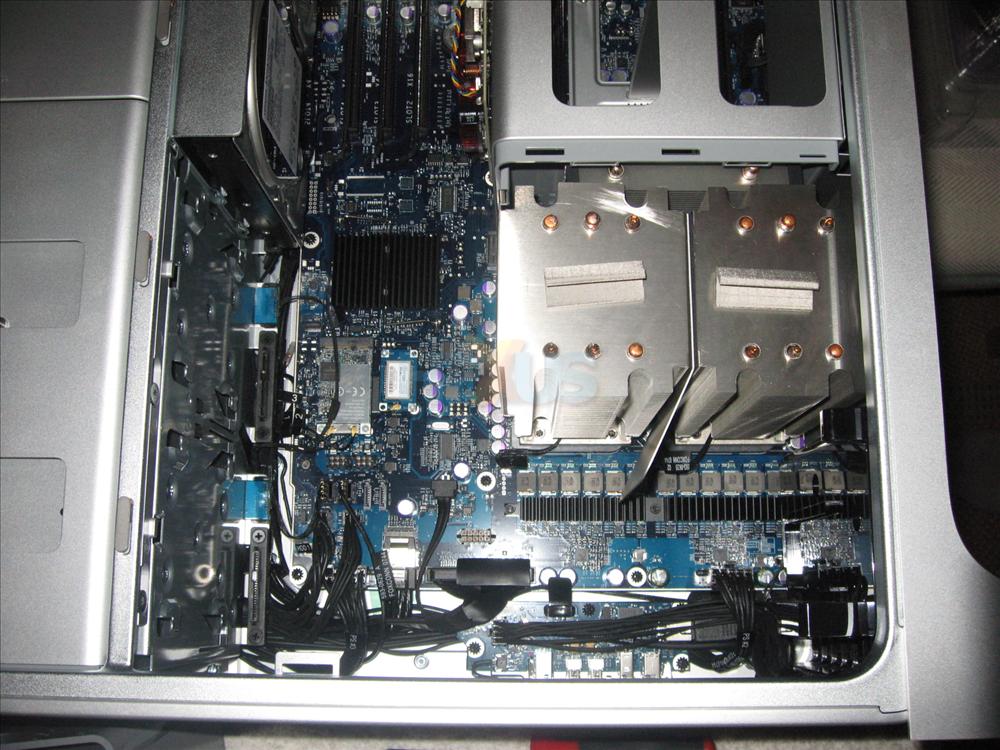
We were faced with a number of screws that all need undoing before getting to the CPUs.
Not worrying about them yet, the thermal-monitoring cables needed to be removed, too, and that was next on the agenda.
They come away with the minimum of fuss, but do remember which one goes where when doing it yourself.


