


Get back, get back, get back to where you once belonged
Now it's time to take things further, and install MythTV. As previously mentioned, MythTV comes in two parts, so we'll install the server part first. In Synaptic, install the "mythtv-backend-master", "xmltv" and "mythweb" packages. This one is a fairly large download, but bear with it. During installation, you will be informed of a randomly generated password which MythTV will use to access all its settings in your MySQL server - you should never need to worry about this in a single-machine configuration, but it might be worth making a note of it if you plan on using a different machine as your front-end. Now go to System, Administration, MythTV Backend Setup to start the configuration process. When asked by the first popup, you definitely want to be added to the "mythtv" group, so click OK. You need to log out and in again now, so click OK again to log out.
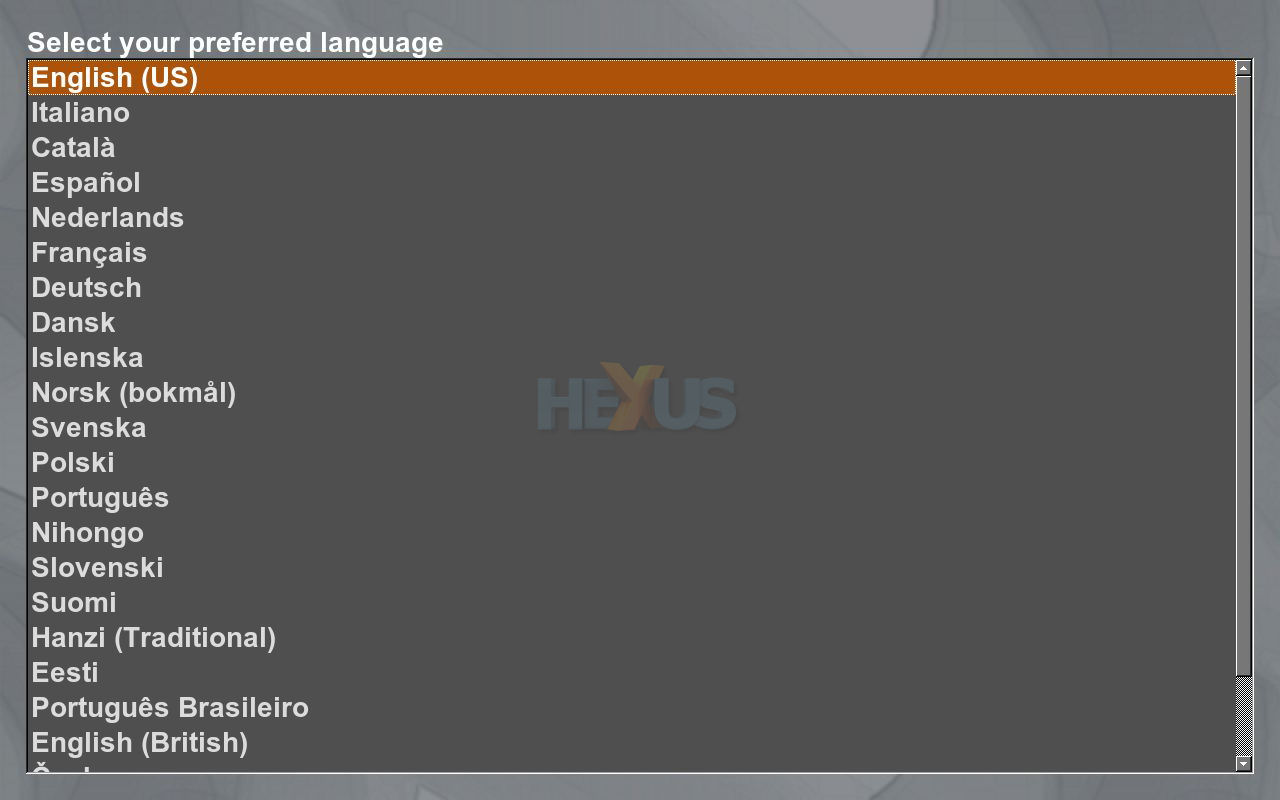
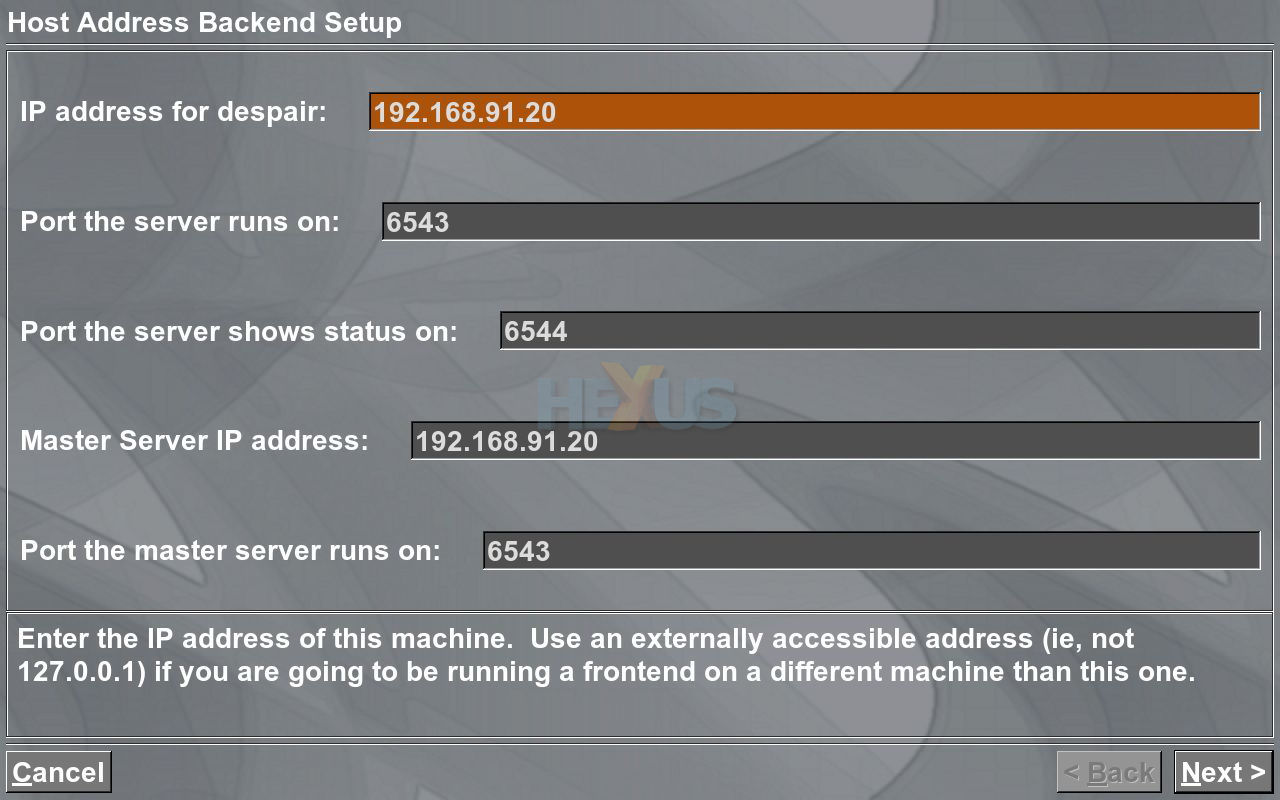
Due to a slight bug, we need to load the setup screen slightly differently this time. Go to Applications, Accessories, Terminal. Now type "mythtv-setup" and it'll offer to close the server for you - you cannot make changes when the server is running, so click OK. You'll now get your first glimpse of MythTV, with a language query screen. Use the keyboard to navigate the list, and select an option with Enter. You'll now get the server setup main menu, which has 5 options in it. These must all be completed, in order. Option 1 allows you to pick your networking settings - change all the 127.0.0.1 entries to the static IP address you picked earlier. Next, pick a location to store recordings - these files will be very large, so if you have a dedicated data partition, enter a folder on that partition here. You probably want it to be shared on the network too, so if you haven't already, remember to set this. Slow deletion should be enabled only if your recordings directory is on an EXT3 file system. Carry on with the wizard, changing from the sensible defaults when it seems wise to do so.
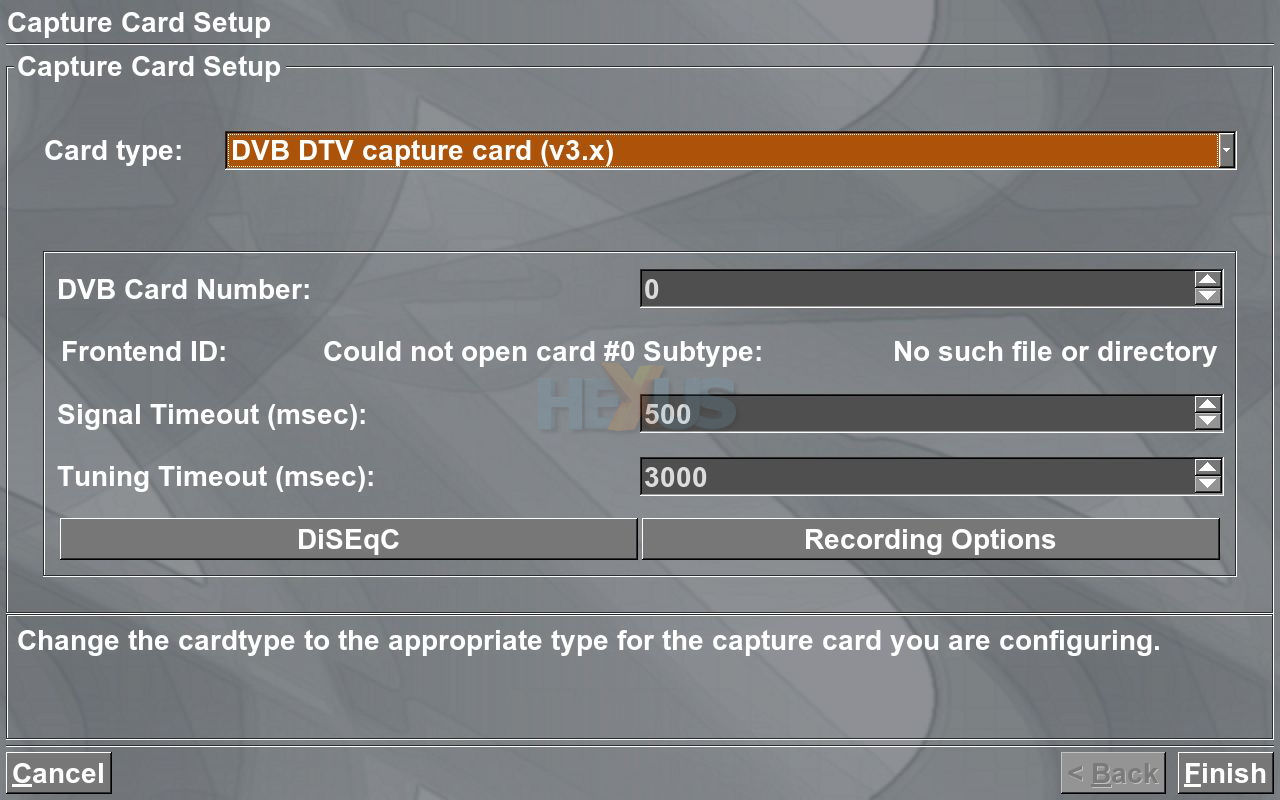
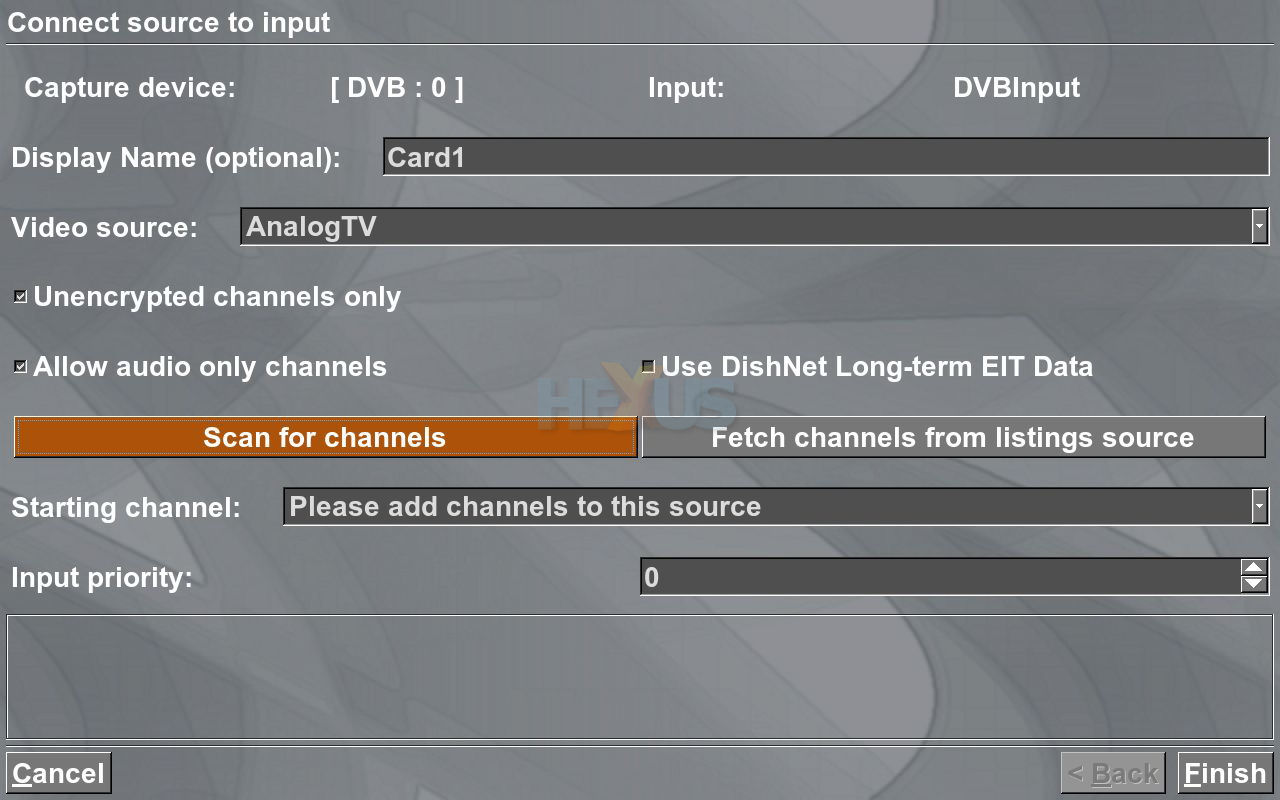
Step 2 defines the TV cards in your system - for each card, hit "(New capture card)" and create a card of the correct type ("DVB DTV capture card" for digital TV, "MPEG-2 encoder card" for hardware-encoders like Hauppauge's PVR series, "Analog V4L capture card" for cheap software framegrabbers). When you've finished creating cards, go back to the menu with Esc, and start step 3. This is where you define which channels to obtain programming data for, and how. Digital TV users may use "EIT" to download guide data directly from the digital signal (the "on air guide"). Americans must buy a subscription to SchedulesDirect.org to get information here, though a 7-day trial is available. Anyone else must select their country from the list. When you hit "Finish" here, if not using Schedules Direct or EIT, the channel configuration will usually in a hidden window, so press Alt-Tab to select it and configure which channels to use.

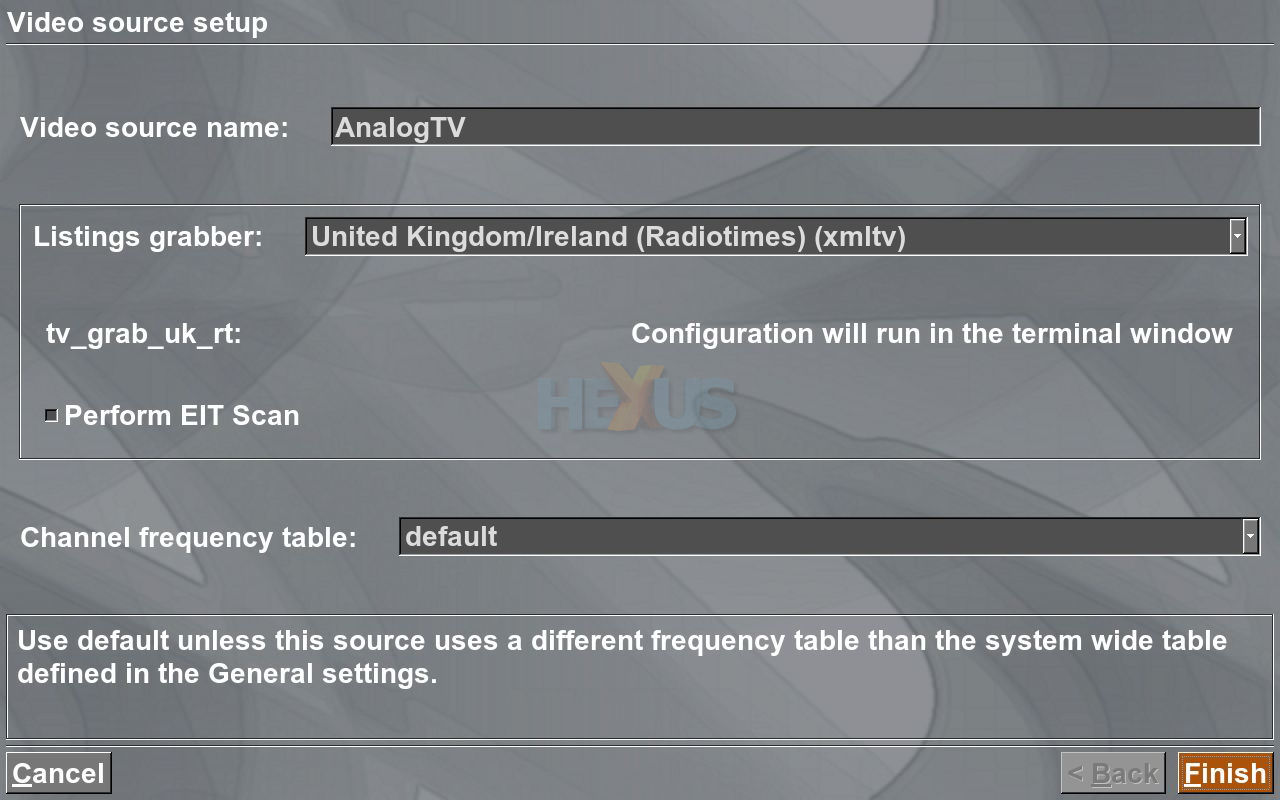
On to step 4. This is where you map a TV card to a channel list, and scan for real channels. Pick a Video Source from the list which corresponds to this card's listing source, then hit the "Scan for channels" button. Leave all settings on their defaults (unless you're using DVB-S satellite, in which case you should know the right answers to put in here). This will find all possible channels for you. Finally, move to step 5 - this is where you can modify channel names and numbers, and match the scanned channel info against the "XMLTV ID" which is used by downloaded guide data (not required if using Schedules Direct or EIT). To see what your XMLTV Ids look like, hit Alt-f2, type "nautilus ~/.mythtv/", and double-click your .xmltv file(s) to open them in an editor. For example, BBC News 24 is on "news-24.bbc.co.uk" so you should configure things in the channel editor, such that all scanned channels have an XMLTV ID or are using an alternative data source like EIT. Hit Esc a few times to quit the setup program, and click OK to download guide data. That should be it - a functional MythTV backend!


